
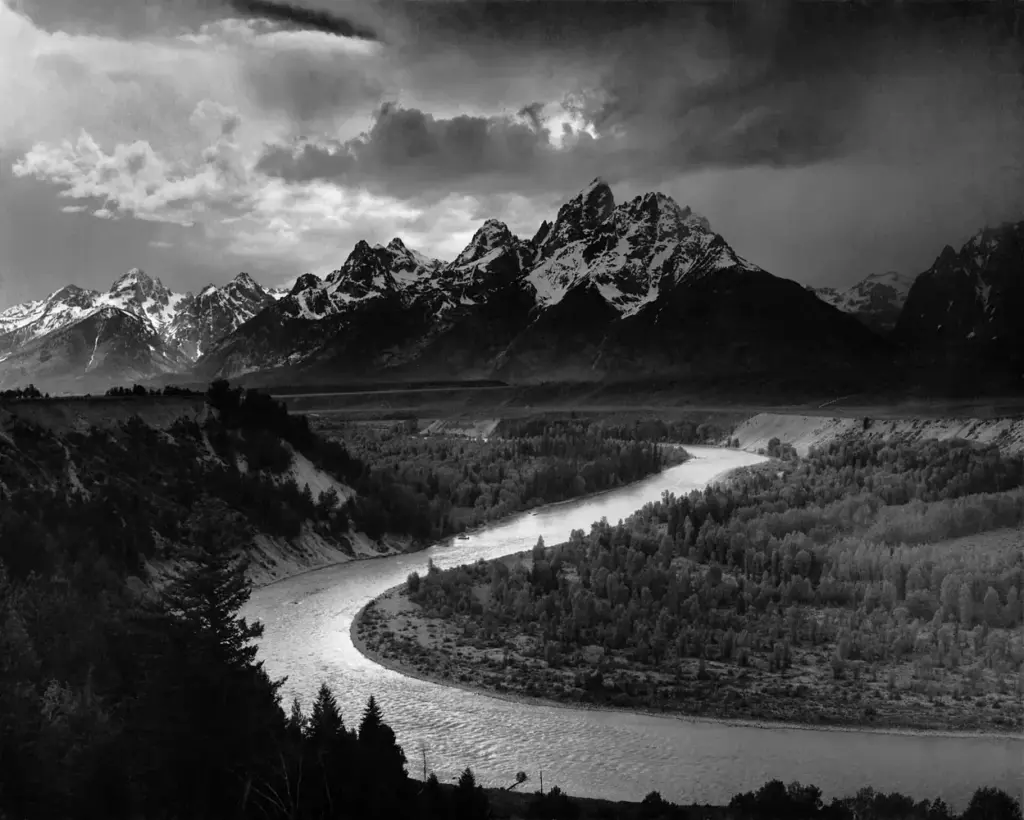
The zone system is a method for planning exposure and contrast by dividing brightness into ten zones, from pure black at zero to pure white at ten, with zone five as middle gray. You decide which zone each tone should occupy, meter it, and adjust exposure so the picture records exactly that tonal relationship.
Why It Matters
Most exposure advice tells you what to do in a typical case. The zone system gives you a way to think about any scene, typical or not. It turns a vague wish such as keep the snow white but not blown into a measurable plan expressed in stops.
It also teaches a habit that pays off in every kind of shooting: look at the range of tones before you press the shutter, and decide what matters. Photographers still use it because the logic behind it fits digital sensors as well as it fit large-format film.
Beginner Ten Tonal Zones And Placing A Subject On The Right One
Ansel Adams and Fred Archer developed the system in the 1930s and 1940s to control tone on black-and-white film. It divides brightness into zones that are each one stop apart. Zone zero is the blackest black with no detail. Zone five is middle gray, the tone a meter aims for. Zone ten is paper white with no detail. In practice the zones are written with Roman numerals, but plain numbers work the same.
| Zone | What it looks like | Example |
|---|---|---|
| 0 | Pure black, no detail | Deepest shadow |
| I to II | Near black, first hint of texture | Dark tire, black cloth |
| III | Dark with good texture | Shadowed bark, dark hair |
| IV | Dark gray | Shaded foliage |
| V | Middle gray | Gray card, weathered wood |
| VI | Light gray | Light skin in shade |
| VII | Light with good texture | Light skin in sun |
| VIII | Very light, faint texture | Bright concrete, white shirt |
| IX | Near white, hint of texture | Sunlit snow |
| X | Pure white, no detail | Light source, glare |
Placing And Falling
The method has two ideas. First you place a tone: you choose which zone a chosen part of the scene should occupy. Second, you let the rest fall into position according to the scene’s own brightness differences. If you meter the shadow under a tree and want it to hold texture at zone three, you take the reading, then reduce exposure by two stops from what the meter says, since the meter wants zone five and you want zone three. Everything else in the scene shifts the same two stops darker.
A Simple Walkthrough
- Look at the scene and decide which important tone matters most, such as a face or a sunlit wall.
- Spot meter that tone. See spot metering technique for the method.
- Decide the zone you want. A face in sun is about zone seven, so you add two stops to the reading.
- Check the brightest and darkest parts of the scene. If they still fit between zones one and nine, you are done.
- Shoot and check the histogram.
Common Mistakes
- Treating the zones as exact labels instead of useful guides.
- Placing a bright highlight too high, where it loses all texture.
- Ignoring the histogram, which tells you whether the placement worked on the actual file.
Handy for this: Wide-Angle Zoom Lens — take in the whole scene. (affiliate link)
Advanced RAW Histograms, Expansion And Contraction In Processing
Digital Dynamic Range Versus Film
Film printed on paper had a usable range of about seven to nine stops, which is why the system uses ten zones. A modern sensor can record twelve to fifteen stops of scene range, but the final output still has to fit the limited range of a screen or print. The skill is in compressing a wide scene range into the output range while keeping the tonal relationships you intend. Dynamic range explained looks at how sensors set that limit.
Why Digital Changes The Priorities
On negative film, you exposed for the shadows and developed for the highlights, because film held detail well into overexposure. A digital sensor does the opposite. Highlights clip abruptly at the maximum value, while shadows degrade gradually into noise. So digital photographers often place their key highlight carefully near zone eight or nine and let the shadows fall below it. This is the idea behind expose to the right.
Using The RAW Histogram
The camera’s histogram is built from the JPEG preview, which includes contrast and color settings, so it often warns about clipping that the RAW file does not actually have. A RAW-based histogram, available through some cameras, many RAW viewers and a few software tools, shows the true data. A common approach is to calibrate your own camera by exposing a gray card and a white card in the same light, then noting where each lands on the histogram. After that you can place any tone with confidence, and the process is a form of the testing described under middle gray.
Expansion And Contraction
Adams used development time to change contrast. Overdevelop and the highlights get brighter, which expands the tonal range, called an N plus development. Underdevelop and the highlights stay lower, which contracts it, called N minus. In digital work, the same adjustment happens in processing. A scene with a wide range, such as a bright sky over a dark valley, is contracted by lowering highlights and lifting shadows with the tone controls or a tone curve. A flat, foggy scene is expanded by adding contrast so the tones spread across more of the output range. You decide the processing before you press the shutter, which is the benefit of thinking in zones.
When Bracketing Is Better
If the range you measured between the brightest and darkest important tones exceeds what a single frame holds, the zone system tells you so before you shoot, and you can bracket and merge exposures. The planning step simply makes the choice a conscious one, not a surprise at the computer.
Try It
- Place a gray card or a neutral gray object in the light and spot meter it. Shoot it at the metered exposure and note where it lands on the histogram.
- Photograph a white sheet in the same light with the same exposure, then add two stops and shoot again. See where each lands on the graph.
- Choose an outdoor scene with a clear shadow area and a bright wall. Meter each, count the stops between them, and decide what zones you want.
- Shoot at your planned exposure, then review the histogram and adjust.
Common Questions
How many zones are there in the zone system?
There are eleven numbered zones from zero to ten, but the useful range with detail runs from about one to nine. Each zone is one stop different from its neighbors.
Does the zone system work with color photography?
Yes. Tone behaves the same way in color, so you can place a tone and expect it to fall at a known brightness. Color adds saturation shifts, though, and highlight clipping in single channels can change hues.
Do I need a gray card to use the zone system?
No, but a gray card helps with calibration. You can also use known tones, such as grass or the palm of your hand, and learn their typical zones through practice and checks on the histogram.
Is the zone system outdated for digital photography?
The film-specific development steps are, but the thinking is not. Placing tones with stops and checking them on a histogram fits digital shooting well, especially for tricky light.
Related Lessons
- Spot Metering Technique to measure the tones you plan to place.
- Middle Gray to understand why zone five is the meter target.
- Dynamic Range Explained to learn how many zones your sensor holds.
- Expose to the Right to apply the zone idea to digital highlights.
- Reading Histograms to verify each placement on the actual file.
Gear That Helps With This
Hand-picked kit that makes this lesson easier to put into practice.
Some links are affiliate links: if you buy through them we may earn a small commission at no extra cost to you. How this works.