
The direction of light is the angle between your light source and your subject, measured from where you stand. Front light comes from behind the camera, side light comes from the left or right, and back light faces the lens. Each angle changes where shadows fall, how much texture shows and how bright the scene looks.
Why It Matters
Two photos of the same subject can look completely different just because the sun or lamp sits in a different place. The direction of light controls shadow length, surface texture, apparent depth and mood, and it is often the biggest difference between a flat snapshot and a photo with shape.
You can rarely move the sun, but you can move yourself or your subject. Learning to read the angle of light lets you pick a better position in seconds, before touching any camera setting.
Beginner Front, Side And Back Light
Think of your subject as the center of a clock face with you standing at six o’clock. Light from the six o’clock side is front light, light from three or nine o’clock is side light, and light from twelve o’clock is back light. Angles in between, such as 45 degrees, are some of the most useful.
Front Light
With the light behind you, the subject is evenly lit and shadows fall away from the camera where you cannot see them. Colors look clean and exposure is easy, but surfaces look flat because no shadows describe their shape. Front light suits record shots, product photos and quick portraits, though people may squint if the light is bright sun.
Side Light
Light from the side rakes across the subject and throws a shadow on the far side. This reveals texture in bark, stone, fabric and skin, and it gives faces a sense of depth. Side light is the classic choice for dramatic portraits and for landscapes with rolling hills. The shadow side can go very dark, so you may need a reflector or a higher exposure to hold detail.
Back Light
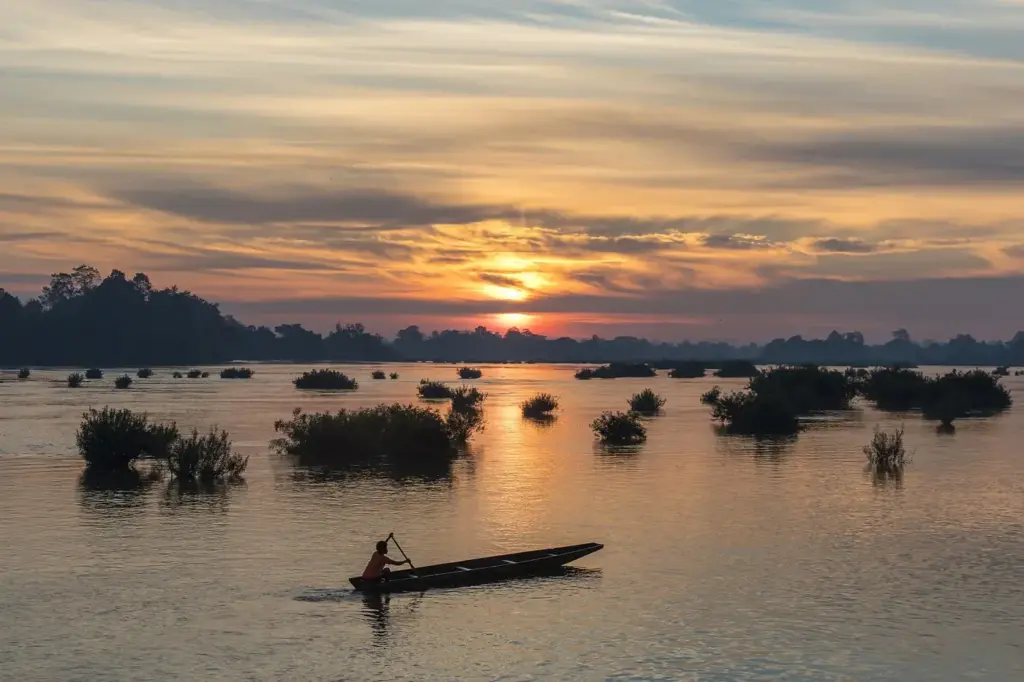
When the light faces the lens, the subject is lit from behind. This can create a glowing edge around hair and leaves, translucent petals and long shadows that point toward you. It also fools the meter, because the bright background pulls the exposure down and leaves the subject dark. Shade the lens with a hand or hood to reduce flare, and meter for the subject or add exposure compensation.
Top And Low Light
Light from directly overhead, like midday sun, drops shadows into eye sockets and under the chin. Light from below, such as a flashlight under the chin, looks unnatural because we expect light to come from above. Most flattering natural light arrives at an angle between 30 and 60 degrees above the horizon.
Quick Angle Chart
| Light Direction | Look | Best For |
|---|---|---|
| Front | Even, flat, bright | Documentation, products, quick snapshots |
| 45 degrees to one side | Gentle shape and soft shadow | Portraits, general use |
| Side (90 degrees) | Strong texture, deep shadow | Drama, landscapes, textured subjects |
| Back | Glow, rim light, silhouette | Mood shots, translucent subjects |
| Overhead | Harsh shadows under features | Usually avoided for people |
Common Mistakes
- Always putting the sun behind your back, which gives flat, squinting portraits.
- Shooting into the light without adjusting exposure, so the subject turns into a dark shape by accident.
- Ignoring the shadow side, then wondering why half the face has no detail.
- Choosing the spot where you like the background and forgetting to check where the light is falling.
Handy for this: Softbox And Light Kit — soft, flattering light. (affiliate link)
Advanced Shadow Geometry, Contrast And Flare
Shadow Length And Contrast
Shadow length depends on how high the light sits above the horizon. For a sun at elevation angle e, a vertical object casts a shadow of length height divided by the tangent of e. At 45 degrees the shadow equals the object’s height, and at 15 degrees it is nearly four times as long. Low light therefore produces long, graphic shadows, while high light shortens them and sends them straight down.
The direction of light also sets scene contrast. In front light the camera sees mostly lit surfaces, so the brightness range is narrow. In side light the camera sees both lit and shaded surfaces, so the range is wide. Back light can be wider still, because the lit background may be several stops brighter than a shaded subject. For how to measure that range, see dynamic range explained.
Angle And Texture
Texture shows when a surface bump casts a shadow on its neighbor. The shallower the light skims across a surface, the longer those tiny shadows become, so grazing light exaggerates texture and head-on light erases it. That is why a photo of a rough wall looks rich at 80 degrees from the surface normal and dull when lit straight on. Portrait photographers use the same principle in reverse: moving the light closer to the lens axis reduces skin texture, and moving it to the side adds it.
Flare Control In Back Light
Light that enters the lens from in front of it can bounce between glass surfaces and coatings, lowering contrast or forming bright shapes. The risk is highest when the source sits just inside or just outside the frame edge. Remedies include a lens hood, a hand or flag held just out of frame, moving a few steps so a tree trunk blocks the sun, and changing the angle slightly so the source leaves the frame. See lens flare for how coatings and designs affect it.
Choosing Direction For The Subject
Match direction to what you want to show. Use side or 45-degree light to describe form and texture, front light to show color and detail evenly, and back light for shape, glow and mood. For people, a small shift of a few degrees in head position changes where the shadow of the nose lands, so rotate the subject rather than moving the entire setup. For the effect of a low, warm sun, see golden hour photography.
Try It
- Pick one object with a clear surface, such as a textured wall or a face, on a clear day.
- Photograph it with the light behind you, then with the light coming from your left, then from your right, then toward the lens.
- Keep the same settings except where back light needs more exposure, and note what each direction does to shadow and texture.
- Compare the four photos side by side and choose the one that best matches the mood you wanted.
Common Questions
Which direction of light is most flattering for portraits?
Light at roughly 45 degrees to one side and slightly above eye level suits most faces. It gives gentle shadows that show shape without hiding features, and a reflector on the shadow side can lift detail.
Is front lighting bad?
Not at all. Front light is easy to expose and shows color accurately, which helps for products and records. It just reveals less texture and depth, so it can look flat for dramatic or moody subjects.
How do I expose a backlit subject?
Meter on the subject instead of the bright background, or add positive exposure compensation of one to two stops. A reflector or fill flash can also lift the shadowed front of the subject.
Does direction matter on cloudy days?
It matters less, because clouds spread the light across a wide area so shadows are very soft. You still get slight differences, and you can use windows, buildings or open shade to create a clear direction.
Related Lessons
- Golden Hour Photography for low, warm side light and long shadows.
- Hard Versus Soft Light Physics to see how source size changes shadow edges.
- Rim Light And Silhouettes for ways to use back light on purpose.
- Open Shade Light for a simple way to soften and direct daylight.
- Lens Flare to control stray light when shooting toward the sun.
Gear That Helps With This
Hand-picked kit that makes this lesson easier to put into practice.
Some links are affiliate links: if you buy through them we may earn a small commission at no extra cost to you. How this works.