
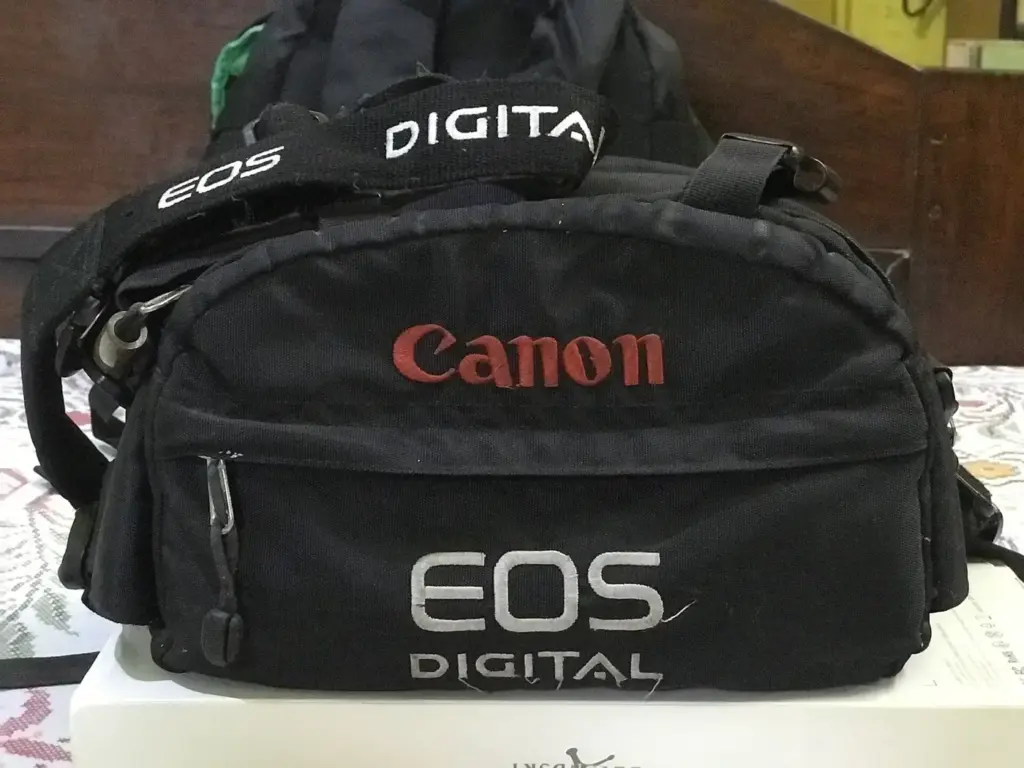
A camera bag is a padded carrier built to protect and organize your camera, lenses and accessories while you move. The right one depends on your shooting style: slings suit quick access in street work, backpacks carry heavy kits on hikes, and rolling cases suit studio and event gear.
Why It Matters
A bag affects your photography more than people expect. A bag that is uncomfortable stays at home, and a bag that is hard to open means you miss shots while fumbling with zips.
It also protects thousands of dollars of equipment. The right padding, dividers and weather resistance prevent damage, while the wrong choice leaves your gear exposed or hurts your back after an hour.
Beginner Choosing A Camera Bag
Main Bag Types
| Type | Best For | Drawbacks |
| Backpack | Hiking, travel, heavy kits | Slower access, must be taken off |
| Sling | Street, walks, one body and two lenses | Weight on one shoulder |
| Shoulder bag | Events, quick changes | Can strain the neck and shoulder |
| Roller case | Studio, weddings, airport | Poor on stairs and rough ground |
| Holster or pouch | One camera with a zoom | Little extra space |
| Insert in a normal bag | Casual carrying | Less protection and organization |
Questions To Ask Before Buying
1. What gear do I carry now, and what might I add in a year?
2. How far do I walk with it, and for how long?
3. How fast must I reach the camera?
4. Do I need space for a laptop, tripod, water or jacket?
5. Will I take it on planes?
Fit And Comfort
Try the bag on with gear inside. Check shoulder straps for padding, a chest strap and a hip belt for heavy loads. A bag should sit close to your back and not swing. Many people stay comfortable under about 10 to 15 percent of body weight, so keep your carried load in that range when you can.
Protection Features
– Padded, adjustable dividers that hold each item firmly.
– A rigid base so the bag does not collapse when set down.
– A rain cover or weather-resistant fabric.
– Zippers that close fully and sit away from the camera.
Common Mistakes
– Buying a huge bag, then filling it with everything and carrying too much.
– Choosing by looks and ignoring comfort.
– Skipping a test fit with real gear.
– Ignoring airline carry-on size rules when traveling.
Handy for this: Camera Backpack — carry it all comfortably. (affiliate link)
Advanced Matching A Camera Bag To Your Style
Street And Everyday Carry
A small sling, messenger or compact shoulder bag keeps one camera and a lens or two ready. A bag that doesn’t look like a camera bag draws less attention. Quick access matters most, so look for a side opening or a top flap. See also the discussion of lens choices in first lens kit to keep the load small.
Landscape And Hiking
A camera backpack with a tripod strap, a hip belt and side access suits long walks. Choose a model with room for a rain jacket, food and water, and look for a rain cover. A weather-ready body and bag work as a system, as discussed in weather sealed cameras. Check that the tripod, chosen with tripod buying advice, attaches at a balanced point.
Events, Weddings And Studio Work
Pros often use a rolling case or a large backpack as a base station and carry a smaller bag or a harness system with two bodies during the event. Keep spare batteries and cards in a labeled pouch. Routines for cards and batteries appear in card offload workflow and camera battery life.
Travel And Air Carry-On
Airlines often limit carry-on bags to about 22 by 14 by 9 inches, though limits and weight rules differ widely, so check before flying. Consider a bag that fits under the seat for the camera and keeps lenses with you. Use packing cubes inside a normal bag for flexible space. For planning, see travel gear packing.
Video Kits
Video shooters carry more accessories, such as microphones, a gimbal, batteries and monitors. A modular system with removable inserts lets you reorganize by project. Look for adjustable dividers and a few large compartments, not many tiny ones.
Security And Care
Use zip locks and lockable zippers in crowded places. Keep silica gel packets inside in humid climates, and do not leave a bag in a hot car. Clean the interior occasionally and check seams and straps for wear, as part of gear maintenance routine.
Buying Strategy
Many photographers end up with two or three bags, each chosen for a purpose. Start with the one you will use most often, test it for a month and add specialized bags only when you notice a repeated need. Buy from a store with a good return policy so you can try the bag with your own gear.
Checking Fit With Real Gear
Bring your actual camera, lenses and accessories when you try a bag. Place the heaviest lens at the bottom and closest to the back, adjust the dividers until nothing shifts, and then walk, bend and climb stairs. Open and close every pocket with the bag on your shoulder. If you need to take the bag off to reach the camera, consider a different design, since small delays add up on a busy day.
Materials, Zippers And Weather
Look for water-resistant fabric, taped seams and a bottom that does not soak up puddles. Large, smooth zippers last longer than small ones and are easier to use with gloves. A built-in rain cover is helpful, but it is not a substitute for a weather-ready bag in heavy rain. In dusty or sandy places, keep lenses in sealed pouches inside the bag.
Weight And Health
A heavy load on one shoulder can cause pain over time. For long days, choose a bag with wide, padded straps and spread weight across both shoulders, or use a hip belt. Carry only what you expect to use, and leave extra lenses in the car or hotel. Many photographers rediscover a single zoom or prime and find they shoot better with less.
When To Replace A Bag
Replace a bag when stitching frays, dividers lose their grip or the base sags. Padding that has compressed no longer protects your gear in a fall. A worn bag is a risk you do not need. Keep the old one for spare accessories or travel, and set the new one up fresh with the dividers matched to your current kit.
Try It
- Lay out all the gear you carry on a typical outing and weigh it.
- Write down your three most common shooting situations.
- Try two or three bag types with your own gear in a shop, and walk around with each for ten minutes.
- Decide which situation matters most, and choose a bag for that case first.
Common Questions
What type of camera bag is best?
It depends on your shooting. Slings suit quick street shooting, backpacks suit hiking and travel, and rolling cases suit studio and events. Pick by how you carry and how fast you need access.
How big should my camera bag be?
Large enough for the gear you carry on most outings, plus a little room, but not so big that you load it with everything. Extra space leads to extra weight.
Do I need a dedicated camera bag?
Not always. A padded insert in a normal bag works for light use, but a dedicated bag gives better protection and quicker access.
Can I take a camera backpack on a plane?
Often yes, but sizes and weights vary by airline. Check the carry-on limits, and keep your camera and lenses with you in the cabin.
Related Lessons
- Travel Gear Packing for planning what goes in the bag.
- Choosing A Tripod to carry support with your kit.
- Gear Maintenance Routine to keep the bag and gear in shape.
- Weather Sealed Cameras for matching bag protection to the camera.
- First Lens Kit to keep the load small and useful.
Gear That Helps With This
Hand-picked kit that makes this lesson easier to put into practice.
Some links are affiliate links: if you buy through them we may earn a small commission at no extra cost to you. How this works.