
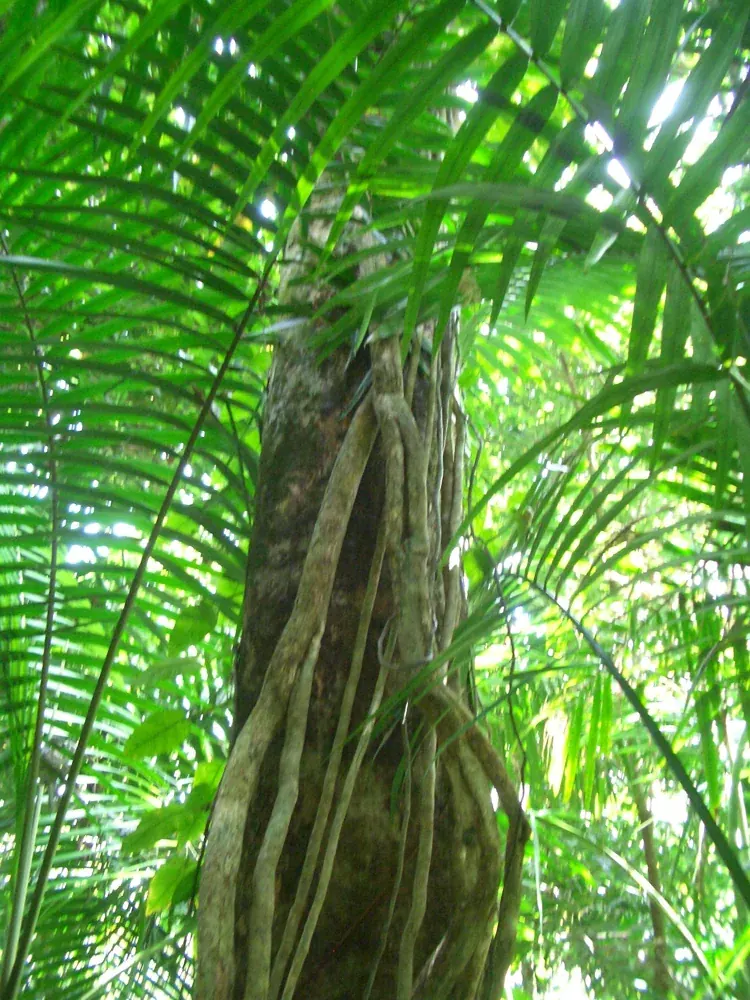
Forest photography is the practice of photographing woodland scenes, from tall trunks to moss and light beams. The main challenges are visual clutter, dim light and harsh contrast between bright gaps and dark shade. Success comes from simplifying the frame, shooting in soft light, and using a tripod with a careful exposure.
Why It Matters
A forest is full of lines, branches and textures, and the eye can find order in it, but a camera simply records everything. Without a clear subject, pictures look messy and flat.
Learning a few simple strategies makes woodland scenes feel calm and layered, and gives you a reason to visit the same forest in every season.
Beginner Forest Photography For Beginners
The best light in a forest is soft and even, such as on an overcast day, in light rain or in early morning mist. Direct sun creates bright patches and dark shade that the camera cannot record well at the same time.
Basic Settings
| Setting | Suggested Starting Point |
|---|---|
| Mode | Aperture priority or manual |
| Aperture | f/8 to f/11 for sharp scenes, wider for isolating a subject |
| ISO | 100 to 400 on a tripod |
| Shutter speed | Whatever the light gives, often 1/4 second or slower |
| Focus | Single point, about a third of the way into the scene |
| File type | Raw for editing flexibility |
Simplify The Scene
- Look for a single strong subject, such as one tree, a path or a stream.
- Use repeating trunks to create a pattern, as in visual rhythm.
- Move a few steps to remove branches that cross the subject.
- Use a longer lens to compress trees and cut clutter.
- Shoot toward a plain area of fog or sky to separate the subject.
Use Layers And Depth
Put an interesting foreground, such as ferns or fallen leaves, in front of a mid-ground tree and a hazy background. Three layers give a sense of depth. See foreground interest for the technique.
Shooting Steps
- Walk the area first, looking at light and angles before taking out the tripod.
- Set up the tripod and level the camera.
- Compose with a clear subject and check the edges for distractions.
- Take a test shot, review the histogram and adjust exposure.
- Use a two-second timer or a remote release to avoid shake.
Common Mistakes
- Shooting in bright midday sun, which gives harsh dappled light.
- Including too many trees without a focal point.
- Leaving a bright sky patch in the frame, which pulls attention away from the subject.
- Using a handheld camera at slow shutter speeds in dim light.
A Quick Kit List
A tripod, a polarizing filter, a lens cloth, a rain cover, a small reflector and a spare battery cover most forest outings. Keep the bag light, since you may walk a long way, and pack everything in a way that protects it from damp.
Handy for this: Carbon Fiber Tripod — sharp at slow shutter speeds. (affiliate link)
Advanced Light, Color And Technique In Difficult Conditions
Understanding Forest Light
Leaves absorb and scatter light. Green foliage acts as a filter, giving shaded areas a cool, green cast, while sunlit gaps are warm and bright. The dynamic range between a sunbeam and deep shade can exceed what a sensor records. Wait for clouds, shoot just after sunrise when light is soft, or use mist to scatter and soften the beams. When you want light shafts, look for a hazy morning with low sun, and read about the effect in direction of light.
Exposure For Contrast
Expose for the highlights so bright gaps do not clip, since shadows recover more cleanly than blown highlights. Check the blinkies using highlight warnings, and use exposure bracketing for scenes with strong contrast, then blend or merge as in HDR photography. For a gentle look, wait for flat light and avoid the issue altogether.
White Balance And Color
Auto white balance can swing between cool and warm in a forest. Set a fixed value, such as cloudy or shade, or shoot raw and set it later. Use a polarizing filter to reduce glare on wet leaves and increase color saturation, as covered in camera filters guide. Rotate the filter while looking through the viewfinder and stop where reflections drop. Be aware that wet leaves and dark trunks hold deep colors, so go easy on saturation in editing.
Handling Wind And Motion
Leaves move in even a slight breeze. For sharp foliage, use a faster shutter speed and raise ISO, or wait for a calm moment. For a painterly effect, use a long exposure with a tripod and let the leaves blur, keeping the trunks sharp. Intentional movement can also create a dreamy abstract, as in intentional camera movement, which works well with vertical tree trunks.
Fog And Atmosphere
Fog turns a cluttered forest into a layered image, since distant trees fade and nearby trunks stand out. Add exposure compensation of plus one-third to plus one stop so fog looks bright instead of gray. See foggy landscapes for more technique.
Macro And Details
Forests are full of small subjects, such as fungi, moss, droplets and insects. A macro lens or extension tubes reveal them, while diffuse light keeps shadows gentle. Use a small reflector to add a little light into dark places and watch for wind that moves the subject.
Safety And Care
Tell someone where you are going, carry water, wear sturdy shoes and watch the weather. Protect the camera from moisture with a rain cover and a cloth, and avoid damaging plants for a picture by staying on paths. Take only pictures, and leave moss and fungi where they grow.
Returning To The Same Place
Visit a favorite spot in different seasons and weather, and note the best light and angles. Fog in autumn, snow in winter, fresh green in spring and golden leaves later in the year give a series of strong pictures from one tripod location. Keep notes on your position, focal length and time of day so you can repeat the framing and compare the changes.
Try It
- Visit a woodland on an overcast morning with a tripod.
- Find one subject, such as a tree or path, and remove distracting branches by moving a few steps.
- Shoot at f/8 with ISO 100 and check the histogram for clipped highlights.
- Take one more version using a longer lens and compare how the background compresses.
Common Questions
What is the best time to shoot in a forest?
Overcast days, light rain and early morning with mist give the softest light. Midday sun makes harsh patches.
Which lens is best for forests?
A mid-range zoom around 24 to 105 millimeters is versatile. A telephoto helps isolate subjects and compress layers, and a wide angle works for paths and canopy views.
Do I need a tripod?
Usually yes, since forest light is dim and the best shutter speeds are slow. It also helps you take your time with composition.
How do I stop my pictures looking messy?
Choose one clear subject, remove crossing branches, use fog or a plain background and keep the frame simple.
Related Lessons
- Foggy Landscapes for adding mood with mist.
- Autumn Foliage Photography for color in the woods.
- Foreground Interest to add depth to wide scenes.
- Choosing A Tripod for a stable base in dim light.
- Long Exposure Photography for streams and moving leaves.
Gear That Helps With This
Hand-picked kit that makes this lesson easier to put into practice.
Some links are affiliate links: if you buy through them we may earn a small commission at no extra cost to you. How this works.