
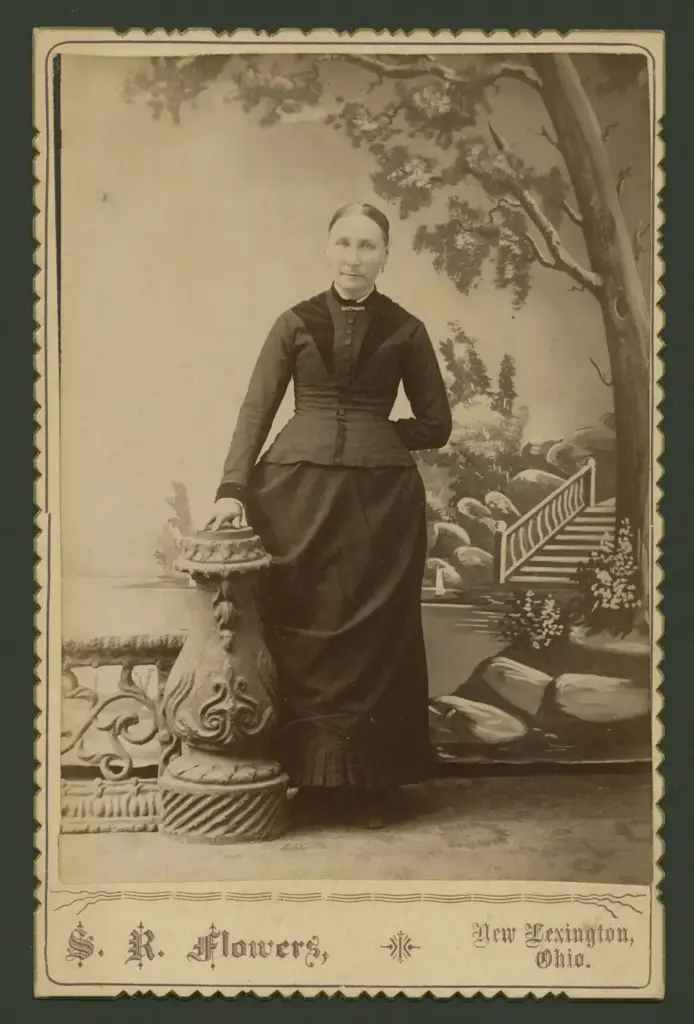
Posing portraits is the craft of guiding a person’s body, hands, head and expression so they look relaxed and flattering in the frame. A few reliable rules help: angle the body away from the camera, shift weight to the back foot, bring the chin slightly forward and down, and give the hands a task.
Why It Matters
Most people feel awkward in front of a lens. They freeze, hold their breath, drop their arms stiffly or grin too hard. How you direct them decides whether the portrait shows a real person or a nervous one.
Good posing is not about rigid formulas. It is about a handful of principles that you can adapt to each person, along with calm, clear instructions that make the session feel easy.
Beginner Basic Rules For Posing Portraits
Start With The Body
– Turn the body about 45 degrees away from the camera, then turn the head back toward the lens. A straight-on stance looks wide and confrontational.
– Put weight on the back foot so the front foot can relax. This creates a natural lean and a soft hip line.
– Stand tall and lengthen the neck, then relax the shoulders down and back.
– Keep arms slightly away from the torso. A small gap prevents the arm from looking wide.
The Head And Face
– Push the chin forward and slightly down. It defines the jaw and removes a double chin.
– Tilt the head a little to one side for a friendly look.
– Ask for eyes on the lens, then off to the side, then back, since the moment between often looks natural.
– Have the person breathe out, relax the jaw and smile with the eyes.
Hands
Hands cause the most trouble. Give them something to do: hold a coffee mug, rest lightly in a pocket with the thumb out, touch a collar or lightly clasp a wrist. Avoid hands pressed flat against the leg or fingers pointing at the lens. Show the side of the hand, which looks slimmer than the back.
Direction That Works
1. Give one instruction at a time.
2. Show the pose yourself if words fail.
3. Say what to do, not what to avoid.
4. Praise what works, to relax the subject.
5. Take frames between poses, since natural movement often gives the best picture.
Common Mistakes
– Photographing from straight on at chest height, which flattens faces.
– Asking for a smile on command and getting a tense grin.
– Ignoring clothing, which can bunch at the waist or collar.
– Overposing every frame and leaving no room for spontaneity.
Handy for this: Fast Prime Lens — creamy backgrounds, low light. (affiliate link)
Advanced Shape, Light And Camera Position For Posing Portraits
Build Shapes And Curves
A good pose forms clear shapes: triangles made by bent arms and legs, and gentle S-curves through the torso and hips. Triangles give stability and visual interest, and a leaning body gives movement. Avoid squared shoulders and parallel limbs, which look stiff. The same flow principle appears in S-curve composition and in the diagonal movement of diagonal composition.
Camera Height And Angle
Shoot at or slightly above eye level for most faces, which slims the jaw and opens the eyes. A lower camera can add power but also emphasizes the chin and nostrils. Whatever the height, keep the lens parallel to the body to avoid distortion. See camera angle photography for effects of position.
Lens And Distance
Closer shooting with a wide lens exaggerates the nose and forehead, and arms or hands extended toward the camera look oversized. Use 85mm to 135mm on full frame for head and shoulders, standing a few steps back. The reasons are discussed in portrait focal length.
Pose To The Light
Where the light comes from affects the pose. With window or flash from one side, turn the face slightly toward the light so catchlights show and the shadow side defines the cheek. With short lighting, the far side of the face toward the camera is shadowed, which slims. See portrait lighting patterns and catchlights to coordinate light and posture.
Adapting To Body Types And Ages
Instead of a formula for each body type, think in terms of simple adjustments. For someone who feels self-conscious about the arms, have them place hands on a prop or lightly on their hips with elbows away. For taller subjects, ask them to lean or sit to bring their face closer to the lens. For older people, avoid harsh downward light and ask for a slight forward lean. Seated poses benefit from perching on the front of a stool with a straight back.
Working With Nervous Subjects
Talk constantly, give easy tasks such as walking, laughing or adjusting a jacket, and show them the back of the camera for early successes. A reassuring tone matters more than a perfect pose. Techniques are covered in directing nervous subjects. For groups, see group photos and for workplaces see headshot photography.
Flow Posing
Instead of holding a single position, move the subject through a series of small changes: step, turn, shift weight, look away, look back. Shoot throughout. Each frame is a slightly different pose, and you can pick the best later. This approach produces natural expressions and limits the stiffness of held poses.
Posing Couples And Pairs
With two people, connect them physically. Closeness reads as warmth, so have them lean in, touch foreheads or hold hands, and stagger their heights so the faces sit at different levels. Avoid placing both heads at the same height and the same distance from the lens, which looks like a mug shot. Turn their bodies toward each other and their faces toward the camera, and give them something to do together, such as walking or laughing, so the expression stays genuine.
Seated Poses
Sitting changes the body line. Ask the subject to sit on the front half of the chair with the spine straight, then lean slightly toward the camera. Crossed legs and angled knees look more flattering than knees square to the lens. Rest an arm on the knee or the chair back so the elbow forms a shape, and leave a gap between arm and torso. For a casual look, a stool, steps or the floor give more variety than a standard chair.
Posing Checklist
Before pressing the shutter, run a short mental list: chin, shoulders, hands, feet, clothing, expression. Fix the largest issue first, since correcting everything at once confuses the subject. Look at the edges of the frame for anything that appears to grow from the head, such as a pole or a branch. Then shoot a burst while the person relaxes.
Practice And Reference
Collect a small set of poses you like and practice them with friends or family. Keep notes on what worked for each body type and lens. Over time your direction becomes quick and automatic, and the subject senses your confidence, which is often the most important pose of all.
Try It
- Ask a friend to stand straight on to the camera and take a frame.
- Turn their body 45 degrees, shift weight to the back foot, push the chin forward and down, and take another.
- Give their hands an object and take a third frame.
- Compare the three frames, and write down which change made the biggest difference.
Common Questions
How do I make someone look natural in a portrait?
Give simple, one-step instructions, keep them moving between frames and give their hands something to do. Natural looks usually appear between poses, so keep shooting.
What is the best angle for portraits?
A body turned about 45 degrees from the camera with the head turned back toward the lens suits most people. Shoot at or slightly above eye level.
How do I avoid a double chin?
Ask the person to push the chin forward and slightly down, and shoot from a little above eye level. Good posture and a longer neck also help.
What should I do with hands in photos?
Give them a purpose, like holding an object or lightly touching a collar. Show the side of the hand, and keep fingers relaxed and slightly separated.
Related Lessons
- Directing Nervous Subjects for relaxing people in front of the camera.
- Portrait Focal Length to choose a lens that flatters faces.
- Portrait Lighting Patterns to pair poses with light.
- Catchlights for bright, lively eyes.
- Group Photos for posing more than one person.
Gear That Helps With This
Hand-picked kit that makes this lesson easier to put into practice.
Some links are affiliate links: if you buy through them we may earn a small commission at no extra cost to you. How this works.