
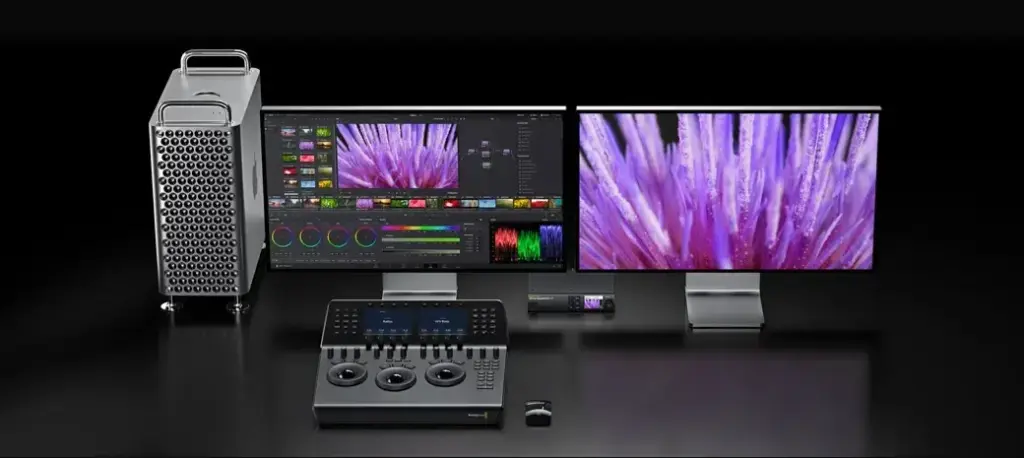
Resolve color management is a set of project settings in DaVinci Resolve that converts footage from its camera color space into a common working space, then to your output space. It lets you grade log footage consistently, mix cameras and deliver for different displays without building manual transform nodes.
Why It Matters
Log footage looks flat because it stores a wide range in a compressed curve. To grade it you need to convert it to a normal-looking image, and the conversion must match how the camera encoded it.
A managed color pipeline does this automatically and keeps different cameras matched. It also helps you avoid clipped highlights and wrong contrast, which are the most common problems in log workflows.
Beginner Resolve Color Management For Beginners
Color management is the idea that every image has a defined color space and gamma, and software converts between them with known math. Resolve provides two main approaches. One is DaVinci YRGB Color Managed, which uses an input and output setting for the whole project. The other is the ACES workflow, which uses a standard working space and conversions called IDTs and ODTs.
Settings To Know
| Setting | What It Controls |
|---|---|
| Color science | DaVinci YRGB, DaVinci YRGB Color Managed or ACES |
| Input color space | How Resolve reads the camera footage |
| Timeline color space | The working space used for grading |
| Output color space | The display or delivery standard, such as Rec.709 |
Basic Setup
- Open Project Settings and choose the Color Management tab.
- Set Color Science to DaVinci YRGB Color Managed.
- Pick an automatic color management option and leave the input as auto if your footage includes metadata.
- Set the timeline color space to DaVinci Wide Gamut Intermediate, a common working choice.
- Set output color space to Rec.709 Gamma 2.4 for most video delivery.
Some names and layout may differ between versions, so look for the same settings under Color Management.
Overriding A Clip
If one clip has the wrong interpretation, right-click it in the Color page, choose Input Color Space and select the correct camera profile. This is needed when the camera does not embed metadata, as can happen with some external recorders.
Common Mistakes
- Choosing the wrong input profile and wondering why contrast and color look off.
- Adding a manual LUT on top of managed conversion, which applies a second transform.
- Setting output to Rec.709 but grading on a monitor that is not calibrated for it.
- Changing color science halfway through a grade, which changes the look of every clip.
Keep notes of the camera, profile and picture style used for every shoot. Matching the recording settings to the input setting is the easiest way to avoid errors, and exposing log shows how to record good source material.
Checking That Management Is Working
A simple test is to look at a gray card or a neutral wall in the clip. After correct input conversion, it should look neutral without a color cast, and highlights should roll off smoothly. If everything looks washed out, the input is probably set to a standard space instead of the log space. If it looks too contrasty and clipped, the conversion may be applied twice.
Handy for this: Monitor Calibrator — colors you can trust. (affiliate link)
Advanced Working Spaces, ACES And Technical Choices
DaVinci Wide Gamut Intermediate
DaVinci Wide Gamut is a large working space designed for grading, and the Intermediate gamma is a log-like curve that makes the controls respond evenly across shadows, mids and highlights. Working in it avoids clipping saturated colors from cameras with wide gamuts. It also makes the lift, gamma and gain tools feel more predictable. For basics of grading tools, see color grading basics.
Managed Versus Manual Transforms
A manual approach uses a technical LUT on each clip or a Color Space Transform effect on a node. This gives control but needs care. An automatic setting is faster and consistent, but it works only if the camera is supported and the footage is tagged correctly. The two approaches should not be mixed on the same clip. The lesson on technical LUTs explains the manual route.
ACES Workflow
ACES is an industry framework that converts every camera to a common scene-referred space called ACEScct for grading. Input transforms bring each camera in, and an output transform maps the result to the display. It is useful for projects with several camera types or visual effects pipelines. The tradeoff is extra complexity and a look that may need a tone-mapping adjustment. For delivery, pay attention to the output transform version and settings.
Tone Mapping And HDR
When your timeline is wide gamut, Resolve can tone map to SDR and HDR outputs. Tone mapping options let you preserve highlight detail by compressing them smoothly. You can create HDR deliverables such as HLG or PQ by changing the output space and using a capable monitor. Check your reference display and its settings before judging the result.
Quality Control
- Use scopes to check that highlights do not exceed legal limits. See video scopes.
- Compare the result with the camera original on a calibrated monitor.
- Test a short export and view it on a phone and a TV to see how it translates.
- Keep the project settings identical for all projects in a series, so grades transfer.
Related Spaces
A color space defines the primaries of the image, while the gamma defines the tone curve. Mixing these up is a frequent source of confusion. For a broader introduction, see color spaces compared and log footage.
Try It
- Create a new Resolve project and set Color Science to DaVinci YRGB Color Managed.
- Import a clip shot in a log profile and confirm the input color space in the Color page.
- Grade the image with simple contrast and saturation changes using the primary wheels.
- Check the scopes, then export a short test in Rec.709 and view it on another screen.
Common Questions
Do I need ACES to grade log footage?
No. Resolve color management with DaVinci Wide Gamut is simpler and works well for most projects. ACES is helpful for multi-camera or effects heavy work.
Why does my log footage look wrong after import?
The input color space may be incorrect or missing. Set the right camera profile on the clip or enable automatic detection and check that metadata is present.
Can I still use LUTs with color management?
Yes, for creative looks placed after the conversion. Avoid using a conversion LUT on top of automatic management, since that would transform the footage twice.
What output color space should I use for web video?
Rec.709 with Gamma 2.4 is a common choice for standard dynamic range video. Some editors use Rec.709-A or sRGB for web, so check your platform and monitor.
Related Lessons
- Log Footage for why log curves look flat and how they work.
- Technical LUTs for manual conversion between spaces.
- Color Spaces Compared to understand gamuts and gamma.
- Resolve Color Nodes for building a grade after conversion.
- Exposing Log to record clean footage for grading.
Gear That Helps With This
Hand-picked kit that makes this lesson easier to put into practice.
Some links are affiliate links: if you buy through them we may earn a small commission at no extra cost to you. How this works.