
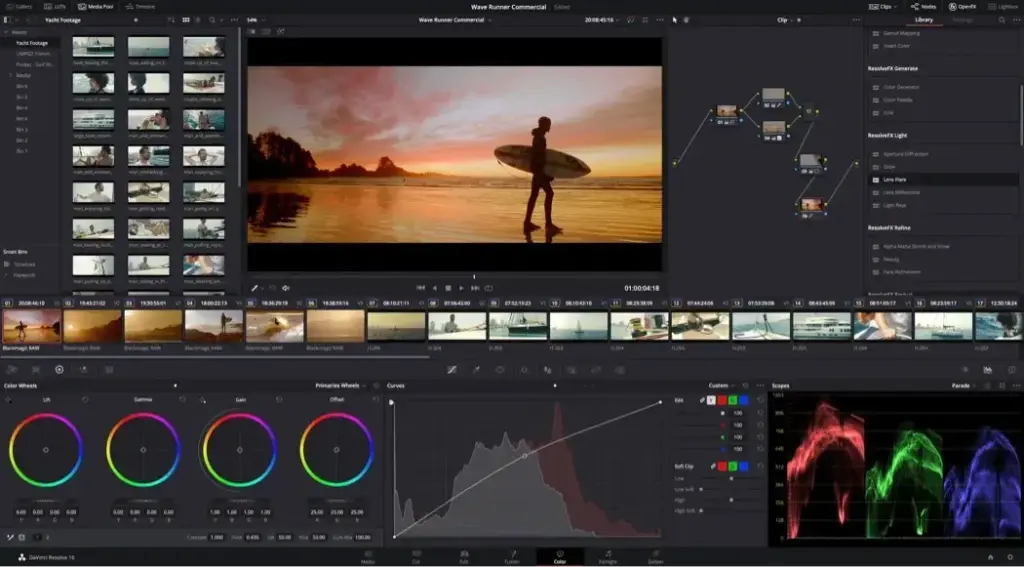
Resolve free vs Studio comes down to a few features. The free version covers editing, color, audio and effects up to Ultra HD at 60 frames per second, while Studio adds AI tools, advanced noise reduction, HDR tools, multi-GPU support, more codecs and higher resolution and frame rates for a one-time fee.
Why It Matters
DaVinci Resolve is unusual because the free version is very capable. Many people can finish professional work without paying, so knowing exactly what Studio adds prevents buying something you do not need.
For others, a particular feature such as noise reduction or hardware encoding for certain formats is worth the cost. The comparison below helps you decide based on your own projects.
Beginner Resolve Free vs Studio Overview
Both versions share the same interface, with pages for cut, edit, Fusion, color, Fairlight and deliver. The differences are in advanced features, performance and limits. The free version exports up to Ultra HD resolution at up to 60 frames per second and supports most common codecs. Studio supports resolutions beyond UHD, higher frame rates, more codecs and many tools that use AI and extra processing power.
Main Differences
- Studio has stronger spatial and temporal noise reduction.
- Studio adds AI tools such as Magic Mask, Voice Isolation, Super Scale and Smart Reframe.
- Studio supports multiple GPUs and faster hardware accelerated decoding of some formats, such as H.264 and H.265 10-bit 4:2:2.
- Studio unlocks HDR grading tools, film grain and lens blur effects.
- Studio allows collaboration features and removes watermarking from certain plugins.
Feature Comparison
| Feature | Free | Studio |
|---|---|---|
| Maximum resolution | Ultra HD (3840 by 2160) | Up to 32K |
| Maximum frame rate | 60 fps | Up to 120 fps and beyond |
| Noise reduction | Basic | Advanced temporal and spatial |
| AI tools | Limited | Magic Mask, Voice Isolation and more |
| Multiple GPUs | No | Yes |
Deciding Which Version You Need
- List the work you do: web video, client projects, broadcast or cinema.
- Check your cameras and codecs, since some formats require Studio for hardware decoding.
- Try the free version on a real project and note the missing features that slow you down.
- If you need noise reduction, AI masking or HDR on a regular basis, try Studio features through the trial or a purchase.
- Re-evaluate when your needs change, as you can upgrade at any time.
Common Mistakes
- Buying Studio before testing the free version on real projects.
- Assuming free means watermarked, when it does not add watermarks.
- Ignoring hardware, since a weak GPU limits both versions.
- Expecting Studio to fix poor footage that was recorded badly.
A Worked Example
A YouTuber shoots 4K at 30 fps with a mirrorless camera, edits, grades and mixes audio. The free version handles it, as the files are standard. After shooting several night scenes with heavy noise and needing clean voices, the creator buys Studio for noise reduction and voice isolation, which saves hours of re-recording and manual cleanup.
Performance Differences
Studio can use more than one GPU and has better hardware decoding on many systems, which speeds up playback of compressed footage. If your computer struggles with H.265 files, Studio may help, though proxies and optimized media can also solve it in the free version.
Support And Updates
Both editions receive the same major updates and are supported by the same manuals and tutorials. A Studio license is a one-time purchase that includes updates within the major version, which is different from subscription software. Check the maker website for current terms before buying.
Hardware And Dongles
A Studio license can be an activation key or a physical dongle depending on how it is purchased. Plan for how you will transfer the license if you change computers. Keep proof of purchase and a record of the key in a safe place.
Checking Your Computer First
Performance often depends more on your hardware than on the edition. A computer with a strong graphics card, plenty of memory and fast storage will run the free version well, while a weak system struggles in both. Before paying for Studio, upgrade the weak parts of your setup, use proxy media, and test whether playback problems actually go away.
Export And Delivery Needs
Check what your clients or platforms require. Most web platforms accept H.264 or H.265 files at up to Ultra HD, which the free version handles. Broadcast or cinema delivery may need other codecs or higher resolutions, which is where Studio becomes necessary. Knowing delivery specifications in advance prevents surprises late in a project.
Trying Before You Commit
Start with the free version and learn the workflow thoroughly, because the skills carry over unchanged. If you later buy Studio, you keep your projects, shortcuts and habits. This path costs nothing at the start and ensures that any purchase is based on real needs rather than guesses about which features you might eventually use.
Handy for this: Softbox And Light Kit — soft, flattering light. (affiliate link)
Advanced Features In Detail
Noise Reduction And Image Quality
Studio noise reduction is among the best reasons to upgrade, because it can clean high ISO footage with fewer artifacts. The free version has basic noise reduction on the color page, which works for mild noise. Understand noise sources in signal to noise ratio and cleaning methods in audio noise reduction for audio.
AI Tools And Masks
Magic Mask tracks people and objects automatically, which saves manual work compared with hand-drawn shapes in color nodes. Voice Isolation improves dialogue in Fairlight, and Smart Reframe helps convert horizontal video to vertical, as in auto reframe. These tools save time, but they are not essential for every project.
Color And HDR Features
Free Resolve includes the core color tools, nodes, curves and scopes. Studio adds HDR palette tools, some advanced curves and film effects. See Resolve color management and color spaces compared for working with different color spaces, which is available in both versions.
Compare With Other Editors
Editing basics are covered in the edit page and effects in Fusion. If you also use other tools, compare with Premiere project setup to see differences in workflow. Choose the tool that fits your work, rather than the one with the most features.
Try It
- Download the free version and edit a short project with your usual footage.
- Note any features you missed or any slow playback problems.
- Check the maker website for a feature comparison and trial options.
- Decide based on actual needs, not on the longest feature list.
Common Questions
Is DaVinci Resolve really free?
Yes. The free version is a full editor, color corrector and audio tool with no watermark, limited mainly in resolution, frame rate and advanced features.
What does Studio add?
Advanced noise reduction, AI tools, HDR tools, multi-GPU support, more codecs and higher resolution and frame rate limits.
Do I need Studio for 4K?
Not for Ultra HD at up to 60 fps. Beyond that, or for certain formats, Studio is required.
Can I upgrade later?
Yes. Your projects open in either version, so you can start free and upgrade when needed.
Related Lessons
- Resolve Fairlight for the audio tools and Studio extras.
- Resolve Color Nodes for the color workflow.
- Resolve Fusion Intro for effects work.
- Resolve Edit Page Basics to learn the editor.
- Resolve Color Management for managing color spaces.
Gear That Helps With This
Hand-picked kit that makes this lesson easier to put into practice.
Some links are affiliate links: if you buy through them we may earn a small commission at no extra cost to you. How this works.