
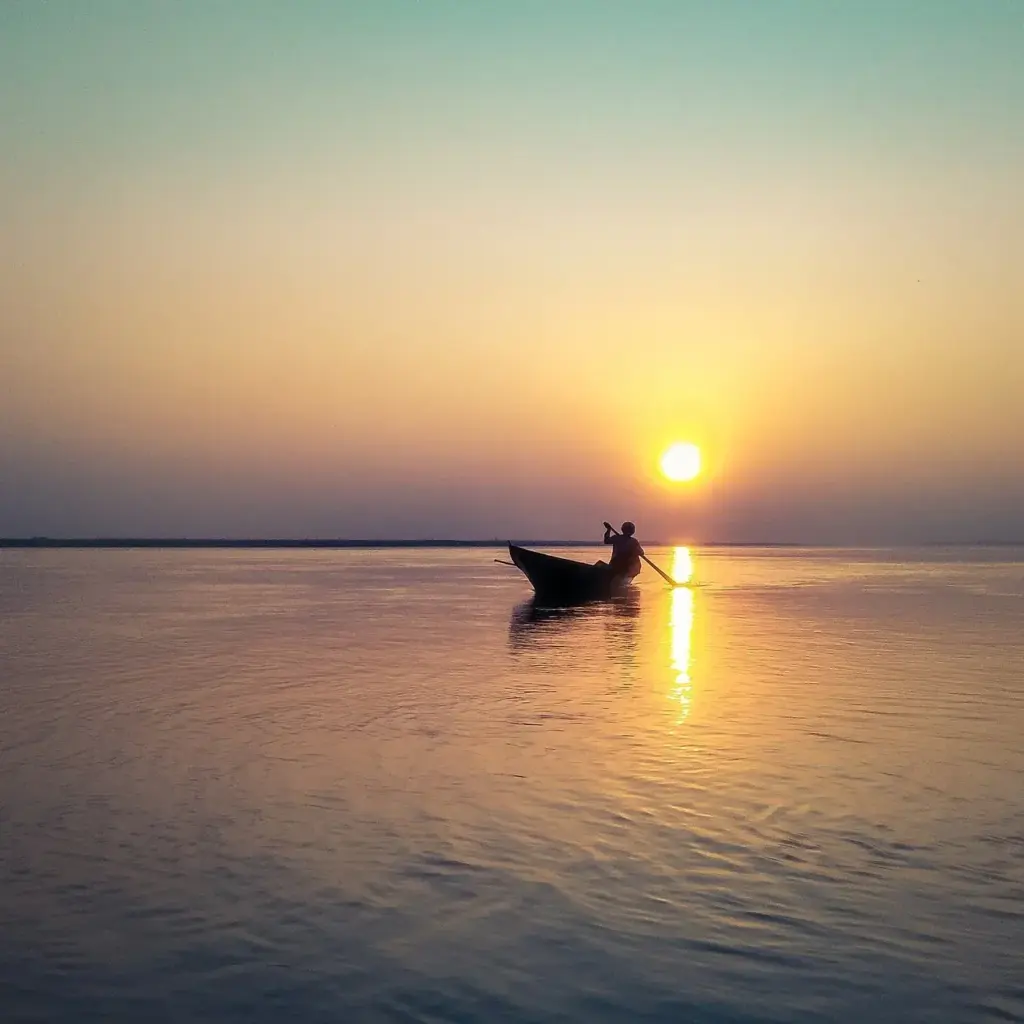
Rim light is a thin line of light along the edge of a subject, created by a source placed behind and to the side. It separates the subject from the background, adds depth and shape, and when pushed further becomes full backlighting or a silhouette where only the outline remains.
Why It Matters
Flat, front-facing light makes a subject blend into its background, especially when both are similar in tone. A rim of light along the hair, shoulders or edges of an object draws a visible boundary and creates a sense of three dimensions on a flat photo.
Backlight is also dramatic and flexible. The same setup can produce a soft glowing portrait, a moody product shot or a graphic silhouette depending on how you meter and fill. Learning it opens up golden hour, window light and studio techniques.
Beginner Using Rim Light And Backlight
Rim light appears when the main source of light is behind the subject, so only the edges catch it. The face and front of the subject stay darker unless you add fill light.
Setting Up Rim Light
- Place a light behind the subject, angled toward the camera side, so it grazes the hair and shoulders.
- Keep the light out of the lens view, using a hood or flag to block direct light into the lens.
- Add a soft key light or reflector at the front to keep the face visible.
- Check the edge on the screen, and move the light until the rim is thin and even.
- Adjust exposure for the face, not for the bright rim.
Natural Light Rim Setups
| Situation | How to use it |
|---|---|
| Golden hour outdoors | Place the sun behind the subject at a low angle |
| Window light | Put the subject between the window and the camera at an angle |
| Street at night | Use headlights or shop lights behind the subject |
| Forest | Look for sun filtering through trees behind the subject |
Shooting A Silhouette
- Place the subject against a bright background, such as a sunset sky.
- Meter for the sky, so the subject falls into shadow.
- Use exposure compensation to darken the exposure by a stop or more.
- Choose a pose with a clear outline, such as a profile or an extended arm.
- Keep shapes separate so arms and legs do not merge into one blob.
Common Mistakes
- Letting the light shine straight into the lens, causing flare and low contrast.
- Metering the bright background and leaving the face dark when you wanted a portrait.
- Placing the rim light too far to the side, so only one shoulder glows.
- Forgetting fill, which leaves a dark, featureless face when detail is wanted.
A Quick Practice
Stand a friend with their back to a low sun. Take one photo metered for the sky, one metered for the face, and one with a reflector bouncing light onto the front. You will see a silhouette, a glowing rim light portrait and a balanced backlit portrait in the same place.
Handy for this: ND And Polarizing Filters — control light and glare. (affiliate link)
Advanced Controlling Contrast, Flare, Modifiers And Metering
Exposure For Backlight
Cameras meter an average of the scene, and a bright background will often cause underexposure of the subject. Use spot metering on the face, or add positive exposure compensation of one to two stops. For rim light with a dark background, expose for the highlight so the rim does not clip. See spot metering technique, exposure compensation and metering modes compared.
Managing Flare And Contrast
Backlight pushes light toward the lens, which reduces contrast and creates haze or ghost shapes. Use a lens hood, shade the front of the lens with a hand or card, and keep the lens clean. You can also embrace flare for a dreamy look, using it deliberately. Learn to control it in lens flare, preventing unwanted flare and lens hoods.
Modifiers For Rim Light
Studio rim light often uses a strip softbox or a bare flash with a grid, placed behind the subject on each side. Strip boxes create a narrow line along the edge, and a grid prevents spill on the background. Two rims, one on each side, create a classic separation light for dark backgrounds. See softbox versus umbrella, off-camera flash and flash triggers.
Balancing With Fill And Ratios
A strong rim with no fill gives a dark, dramatic look, while moderate fill reveals the face. The ratio between rim, key and fill determines the mood. A reflector at the front or a low powered flash can lift shadow detail without killing the rim. Review lighting ratios, bounce flash and reflectors and diffusers.
Silhouette Composition
Silhouettes depend entirely on shape, so composition matters more than detail. Keep the subject against a clean sky, leave space around important edges, and avoid overlapping limbs. Use a distinctive shape such as a hat, a tree or a camera. Combine with color from the sunset for contrast, covered in color harmony. See negative space and golden hour photography.
Motivated Light And Realism
Rim light looks natural when it appears to come from a visible or plausible source, such as a window, a lamp or the sun. Film lighting often uses a backlight to mimic sunlight and separate actors from sets. See motivated lighting and three-point lighting, where the rim is usually called the hair or back light.
Processing Backlit Images
In editing, lift shadows to recover face detail, reduce highlights to protect the rim, and add contrast to the midtones. Use a radial or brush mask to brighten the face separately from the background. See Lightroom masks and shadow detail recovery.
Rim Light For Product And Food Shots
The same idea works for small subjects. Glass bottles glow when lit from behind, with a white card or strip light creating clean edges. Steam rising from food shows up when backlit and photographed against a dark background. For jewelry, a backlight can make stones glow. See product photography and food photography for related setups.
Try It
- Find a low sun or window and place a subject between it and the camera.
- Take three photos: one metered for the background, one for the face, and one with a reflector.
- Add a lens hood or shade the front of the lens, and compare flare in the results.
- Edit the best image, lifting the shadows while protecting the rim highlights.
Common Questions
What is rim light in photography?
It is light that comes from behind a subject and creates a thin bright outline along its edges. It separates the subject from the background and adds depth.
How do I expose for a silhouette?
Meter for the bright background or sky and, if needed, reduce exposure further with compensation. The subject will fall into shadow and appear as a dark shape.
How do I avoid flare with backlight?
Use a lens hood, shade the lens with your hand, keep the glass clean, and angle the camera so the light source is slightly out of the frame.
Can I create rim light with a reflector?
Yes. Place a reflector behind the subject to bounce light onto the edges. It is easier outdoors with sunlight, but a white board or foil can also work indoors.
Related Lessons
- Direction Of Light to understand how angle changes mood.
- Lighting Ratios for balancing rim, key and fill.
- Preventing Unwanted Flare for shooting into the light.
- Three-Point Lighting for the full classic lighting setup.
- Spot Metering Technique for accurate backlit exposures.
Gear That Helps With This
Hand-picked kit that makes this lesson easier to put into practice.
Some links are affiliate links: if you buy through them we may earn a small commission at no extra cost to you. How this works.