
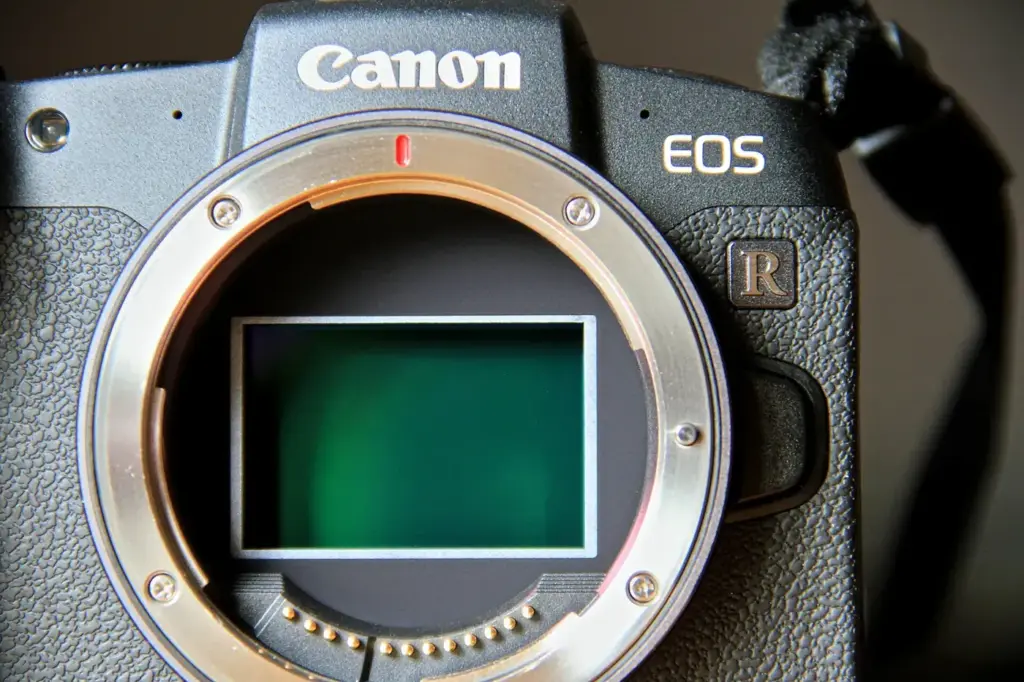
On-sensor autofocus is a focus system that uses pixels on the main image sensor itself to measure focus, instead of a separate autofocus module. Because the pixels are spread over the sensor, focus points can cover most or all of the frame. Dual pixel designs split every pixel in two, while hybrid designs mix phase detection pixels with contrast checks.
Why It Matters
On-sensor autofocus is the reason mirrorless cameras can place focus points near the edges of the frame, track subjects across the whole picture, and focus well during video. It changed how photographers compose, since you no longer need to focus and recompose.
Understanding how it works helps you judge camera specifications, anticipate where it can fail, and set up your camera for the best results.
Beginner How Mirrorless Focusing Points Cover Almost The Whole Frame
A DSLR has a separate autofocus module under the mirror, and its points sit in a cluster near the center. A mirrorless camera has no mirror, so the image sensor is always exposed to light. Engineers add focus detection to the sensor, which lets the points spread across nearly the entire sensor area.
The Two Main Designs
| Design | How It Works | Examples |
|---|---|---|
| Dual pixel | Every pixel has two photodiodes, left and right, and the camera compares the two images | Canon Dual Pixel AF, some Samsung and smartphone sensors |
| Hybrid phase and contrast | Dedicated phase detection pixels spread across the sensor, plus contrast detection for fine tuning | Sony, Fujifilm, Nikon Z, Panasonic and others |
| Quad or multi-pixel | Groups of four or more photodiodes under one microlens that detect both directions | Sony quad Bayer sensors, smartphones |
Why Coverage Matters
- You can put the point on a subject at the edge of the frame and compose however you like.
- Tracking works across the whole picture, so a moving subject does not leave the focus area.
- Face and eye detection can work anywhere in the frame.
- Video autofocus is smooth because the camera measures direction and distance continuously.
How To Use It
- Move the focus point with a touch screen, joystick or touch pad, or let a wide area with subject detection choose.
- Use the largest area that works for the subject and tighten it only if focus lands on the wrong thing.
- Use continuous mode for moving subjects, see continuous autofocus.
- In low light, pick a bright lens and an edge with contrast.
Common Mistakes
- Assuming that every point works equally well. Some cameras are less sensitive at the edges.
- Reading the number of focus points as a measure of quality. A camera with 700 points may track no better than one with 200.
- Not updating firmware, which often improves autofocus behavior. See camera firmware updates.
Handy for this: Sensor And Lens Cleaning Kit — keep glass spotless. (affiliate link)
Advanced Trade-Offs, Edge Cases, And Verifying Results Objectively
Dual Pixel In Detail
Each pixel has a shared microlens over two photodiodes. A photodiode on the left sees light that passed through the right side of the lens, and the one on the right sees the opposite. Compare the left image with the right image across a focus area, and the offset gives phase information, just as in a dedicated module. At exposure time, the two signals are summed to form the normal pixel value, so every pixel contributes to both focus and image. The advantage is dense coverage and no loss of image data. The drawbacks are more complex readout and slightly more noise from the extra circuitry in some designs.
Masked Pixel Designs
Hybrid designs hide half of selected pixels behind a metal mask so they see only one side. Left and right masked pixels come in pairs in rows. Since masked pixels lose light, the camera must correct them in the image by interpolating from neighbors. A sparse pattern keeps visible effects minimal. The pairs detect offset along one direction, usually horizontal, which makes them weaker on horizontal lines, while some cameras add vertical pairs. This is a reason a camera can struggle on a horizon line.
Orientation And Line Detection
A sensor with only left-right pairs cannot measure vertical offset. Cameras with both orientations or quad designs handle lines in any direction. If your camera struggles with striped subjects, such as a fence or a boat railing, rotate the camera slightly or choose a different spot on the subject.
Aperture And Light Limits
Phase detection on the sensor works through the lens aperture you use. At very small apertures the left and right light paths become too close to measure well, so many cameras focus with the aperture wide open and then stop down for the exposure. Some cameras limit autofocus at apertures smaller than f/11 or f/16, and cameras with teleconverters may lose coverage. See your manual for the lowest aperture and the low-light rating in EV. The principle of phase comparison is covered in phase detection autofocus.
Readout Speed And The Electronic Shutter
Autofocus data comes from the sensor, so the readout rate matters. A slow sensor readout delays focus updates and can limit blackout-free continuous shooting with tracking. Stacked and fast sensors improve this. Heat and a rolling shutter can also appear in electronic shutter mode. See electronic shutter.
How To Verify Results Objectively
- Mount the camera on a tripod, aim at a flat chart with fine lines at 45 degrees, and shoot at the widest aperture.
- Focus from both near and far starting positions and shoot several frames each time. A consistent offset points to a calibration or lens issue, and a scattering of misses points to a tracking or contrast problem.
- For tracking, ask a helper to walk toward you at a steady pace from 20 meters and shoot 30 frames. Count the sharp frames at 100 percent and keep the number.
- Repeat after a firmware update, with a different lens or with a different area mode, and compare the numbers instead of impressions.
Written records beat memory. Note the lens, aperture, mode, distance and result. This also reveals when a lens, rather than the body, is the weakest link, see lens focus motors.
Try It
- Take a photograph with the focus point at an extreme corner, then another with the point in the center of the frame. Compare sharpness.
- Set up a chart or a page of text, and test focus at your widest aperture and at f/11.
- Film a person walking toward you in video mode with continuous autofocus and review whether focus stays on the face.
- Find your camera specification for the low-light autofocus limit and test a dim room against it.
Common Questions
What is dual pixel autofocus?
It is an on-sensor system in which every pixel contains two photodiodes that see light from opposite sides of the lens. The camera compares the two images to measure focus, and combines them to make the picture.
Is on-sensor autofocus better than a DSLR autofocus module?
It covers more of the frame, is excellent for video and tracking, and needs less calibration. A DSLR module can still be quick and sensitive in low light through the viewfinder. Modern mirrorless systems match or beat DSLRs in most uses.
Why does autofocus hunt on a horizon line?
Many sensor pixels measure offset in one direction only. A line parallel to that direction gives no signal. Tilt the camera a little or choose a spot with detail in both directions.
Do more focus points mean better autofocus?
No. The point count says little about speed or tracking. What counts is sensitivity, coverage, algorithms and lens motors. Judge the camera by tests and reviews, and by your own use.
Related Lessons
- Phase Detection Autofocus for the measurement principle behind these sensors.
- Subject Detection Autofocus to add intelligent subject finding.
- Electronic Shutter to see how readout speed affects tracking.
- DSLR Vs Mirrorless to compare autofocus on both designs.
- AF Microadjustment for calibration on cameras that still need it.
Gear That Helps With This
Hand-picked kit that makes this lesson easier to put into practice.
Some links are affiliate links: if you buy through them we may earn a small commission at no extra cost to you. How this works.