
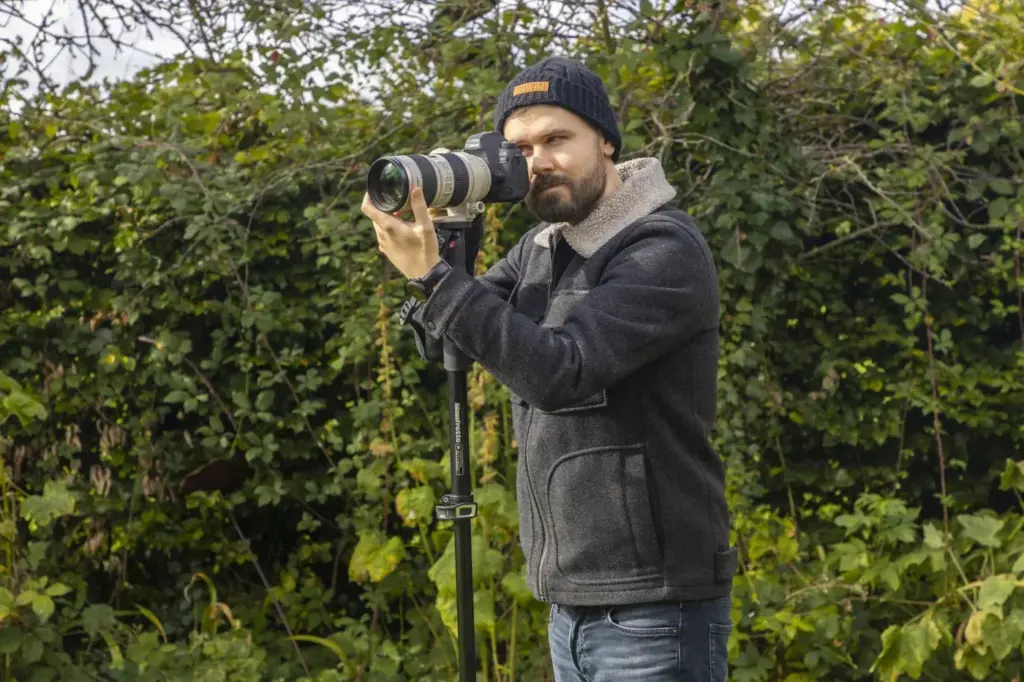
Panning with a monopod means planting the pole as a pivot and turning the camera smoothly to follow a moving subject, so the subject stays sharp while the background streaks. Start near 1/60 second for cars and cyclists, rotate from the hips, keep the shutter pressed through the follow-through and use continuous autofocus.
Why It Matters
A panning shot freezes a moving subject while the background turns into a streak of color. It conveys speed in a way a frozen frame cannot, and it works for cyclists, runners, cars, horses and birds.
The difficulty is that your camera must move at the same speed as the subject for the whole exposure. A monopod removes the up-and-down wobble and supports a heavy lens, so you only have to control one thing, the horizontal swing. That makes it much easier to get sharp keepers.
Beginner Panning With A Monopod: Getting Started
A tripod is too stiff for panning on most moving subjects, and handheld work tires the arms and drifts up and down. A monopod sits in between. It carries the weight and stops vertical drift, yet it lets you swing the camera freely around the pole.
Set Up The Gear
- Extend the monopod so the camera sits at chin or chest height. Slightly too low is better than too high, because you can lean into it.
- Use a simple head, or a ball head loosened just enough that the camera can tilt but not flop. A fluid or tilt head is smoother if you have one.
- Mount the lens collar or the camera body on the monopod so the heavy part is balanced over the pole.
- Choose Shutter Priority and a starting shutter speed from the table below.
- Set continuous autofocus and a burst drive mode.
Starting Shutter Speeds
| Subject | Starting Shutter Speed |
|---|---|
| Walking person | 1/15 to 1/30 second |
| Runner or cyclist | 1/30 to 1/60 second |
| Car in town | 1/60 to 1/125 second |
| Fast race car or train | 1/125 to 1/250 second |
| Bird in flight | 1/250 second or faster |
The Panning Motion
- Stand with your feet about shoulder width apart, pointed toward where the subject will pass the middle of your swing.
- Twist your upper body toward the subject as it approaches, with the monopod planted on the ground in front of you.
- Pick up the subject early in the viewfinder and keep a focus point on a stable part, such as a rider’s helmet or a car’s headlight.
- Rotate smoothly from the hips and keep the camera level. Match the subject’s speed.
- Press the shutter when the subject is in front of you, keep panning during the shot and keep following after the shutter closes.
Common Mistakes
- Stopping the swing when you press the shutter, which makes the subject blurry at the end of the frame.
- Pushing down on the monopod so it wobbles instead of letting it rest on the ground.
- Choosing a speed that is too fast, which gives no background streaks and no sense of motion.
- Panning from the arms instead of the body, which gives jerky motion.
Keep Your Expectations Realistic
Even experienced photographers expect only a fraction of panning shots to be sharp, especially at slow speeds. Take bursts and treat the best one in five as success. Practice on a steady stream of traffic until the motion feels automatic.
Handy for this: Camera Gimbal — smooth handheld footage. (affiliate link)
Advanced Shutter Speed, Stance And Focus Mode
Why Speed Alone Does Not Decide Blur
The amount of background blur depends on how fast the subject moves across your view, which is its angular speed. That is its speed divided by its distance. A car at 30 mph passing 10 meters away moves across your view much faster than the same car at 50 meters. Closer subjects need a faster swing and are harder to track, while distant ones need a slower speed for the same streaking. Adjust shutter speed by distance as well as by subject. For deeper background on speeds see shutter speed guide and the wider technique overview in panning technique.
Picking A Slow Enough Speed
Start with the table, take ten frames, then drop one stop and repeat. Each slower step increases background blur and increases the difficulty of keeping the subject sharp. Stop when your keeper rate drops below what you can accept. A sunny day may force you to stop down or use a neutral density filter to reach 1/30 second, since a bright scene at ISO 100 and f/16 may still need 1/125 second or faster. Lock the lowest ISO and consider a circular polarizer or ND filter for slow speeds in daylight.
Image Stabilization Modes
Many stabilized lenses have a panning mode, often called Mode 2 on Canon lenses and Active or Sport on some others, that ignores horizontal motion and corrects only vertical shake. With a monopod, you usually need this mode, because the standard mode may fight your sideways swing. If your lens has no such mode, turn stabilization off at slow shutter speeds. Check your lens manual because naming varies. Body stabilization can add its own panning detection, and the manual explains how to enable it.
Focus Mode And Focus Point
Use continuous autofocus with tracking, so the camera updates focus as the subject approaches. Pick a single point or small zone rather than a wide area, and keep it on a high-contrast part of the subject. Subject detection that recognizes cars, motorcycles and animals helps keep lock. For moving subjects at a known spot, you can set a fixed focus distance with zone focusing, covered in zone focusing. Read continuous autofocus for how tracking works in detail.
Burst And Shutter Timing
Use a mechanical or electronic shutter in burst mode so you can fire several frames while the subject crosses your view. Begin shooting when the subject is still approaching at a slight angle, not when it is at the middle, and continue until it passes. The sharpest frames often come near the center of the pass where the angle matches your swing, but the early and late frames can also be useful because the direction of travel is easier to follow.
Use The Monopod As A Pivot
Let the monopod foot stay planted and avoid walking, so the camera’s rotation is smooth. Some photographers add a small foot, a rubber tip or a pad on slippery floors. Rotate your hips, keep your elbows tucked and let the pole take weight from your hands. For tall subjects such as horses and riders, extend the monopod a bit higher and tilt the camera upward without lifting it from the ground.
Reviewing Your Frames
Check sharpness at 100 percent on the subject’s eyes, headlights or numbers. If every shot is sharp on one side and soft on the other, your swing speed did not match the subject. If all shots are soft, the shutter speed or focus mode is the cause. For birds and other very quick subjects, see birds in flight for settings that favor faster speeds.
Try It
- Stand by a quiet road and photograph passing cars at 1/60 second, using a monopod and continuous autofocus.
- Repeat at 1/30 and 1/125 second and compare background blur and the number of sharp frames.
- Switch the lens to its panning stabilization mode, if it has one, and compare keepers again.
- Try the same subject from twice the distance and note how the required swing speed changes.
Common Questions
Is a monopod better than a tripod for panning?
For most moving subjects, yes. A monopod swings freely, carries the weight and takes seconds to reposition. A tripod with a fluid head gives smoother tracking for long, planned passes such as racing from a fixed spot.
What shutter speed should I use to pan?
Start near 1/60 second for cyclists and cars in town, 1/30 for runners and 1/125 or faster for fast vehicles. Slow down gradually until the background streaks well and keepers remain acceptable.
Should I turn image stabilization off when panning?
If your lens has a panning mode, use it. If not, try turning stabilization off at slow shutter speeds, especially on a monopod, so the system does not fight your sideways motion.
Why are my panned subjects blurry at the edges?
Usually the swing was uneven or the shutter speed was too slow. Keep your feet planted, rotate from the hips and keep following the subject after the shutter closes.
Related Lessons
- Panning Technique for the full method without a monopod.
- Shutter Speed Guide for choosing speeds by subject.
- Continuous Autofocus for how tracking keeps moving subjects sharp.
- Zone Focusing for a fixed focus method on predictable paths.
- Birds In Flight for fast subjects and long lenses.
Gear That Helps With This
Hand-picked kit that makes this lesson easier to put into practice.
Some links are affiliate links: if you buy through them we may earn a small commission at no extra cost to you. How this works.