
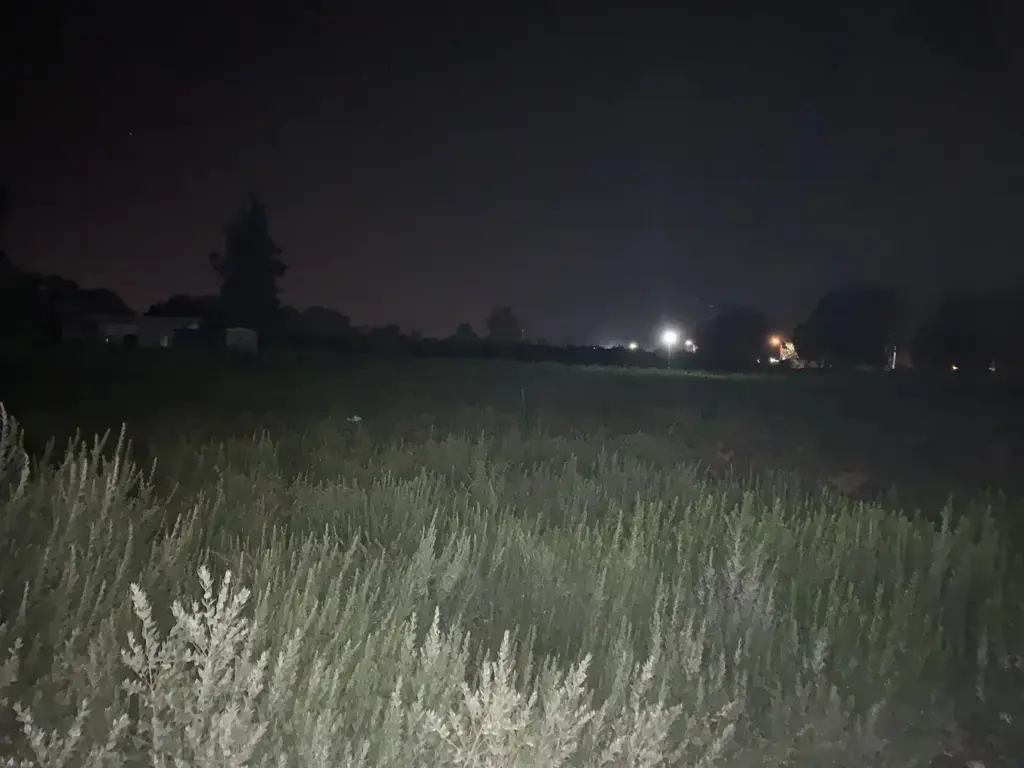
Night focus with a flashlight means lighting a subject or a stand-in object so autofocus can lock on, or using the beam to set manual focus. Shine a flashlight on a target at the same distance as your subject, focus on it, then switch the lens to manual so the setting stays put while you compose.
Why It Matters
Autofocus works by finding contrast and detail. In the dark there is little of either, so cameras hunt back and forth, give up, or lock onto the wrong thing. The result is a night photo that looks soft even though the exposure and the tripod were fine.
A small flashlight is one of the cheapest ways to solve this. It lights something nearby for the camera to read, and it helps you see where the lens is really focused. Once you know a few methods, you can focus on dark streets, cars, buildings, campfires and star scenes without guessing.
Beginner Night Focus With A Flashlight Basics
Begin with the simplest rule. The camera needs a clear, bright, contrasty point at the same distance as the part of the scene that must be sharp. Your flashlight can create it. Choose one of the methods below.
Method One: Light The Subject
- Put the camera on a tripod and turn the lens to autofocus.
- Ask a helper, or point the flashlight yourself, to light the subject from the side so edges and texture show.
- Choose a single focus point and place it over the lit area. Half press the shutter or use a back button to focus.
- Switch the lens to manual focus so the camera does not refocus when the light goes off.
- Take a test shot, zoom in on the image and check that the area is sharp.
Method Two: Use A Stand-In At The Same Distance
For a wide scene such as a street, house or tree line, walk to the key part of the scene, place the flashlight or a light-colored object there, then walk back and focus on it. Distance is what matters, not the object. A bright porch lamp or a lit window already at the right distance does the same job.
Method Three: Lock Onto A Distant Light
For night landscapes and city skylines, point the camera at the brightest distant light, such as a street lamp across a valley, a lit tower or a bright planet, and autofocus on it. Switch to manual focus and recompose. Most wide lenses are sharp from a short distance out to infinity once focused on something far away.
| Situation | Best Quick Method |
|---|---|
| Portrait in a dark room | Light the face with a flashlight, focus, then switch to manual |
| City skyline or street | Focus on a distant bright light |
| Campsite or tent scene | Place a lit flashlight at the tent and focus on it |
| Stars and Milky Way | Focus on a bright star or planet with magnified live view |
| Close object like a flower | Hold a light close and use a single focus point |
Light Choices That Help
- Use a small, bright LED flashlight or a headlamp. A phone light works in a pinch.
- A red light keeps your own eyes adjusted to the dark, but cameras focus better on white light.
- Do not shine a flashlight into someone’s eyes or at wildlife, and avoid lighting up other photographers’ shots.
- Turn the beam away from the lens so it does not cause glare in the frame.
Common Mistakes
- Leaving the lens in autofocus so the camera refocuses after you turn off the light.
- Focusing on a nearby wall when your subject is far away.
- Bumping the focus ring while changing settings, which moves the focus without any warning.
- Trusting the viewfinder or back screen at normal size without checking a zoomed image.
Handy for this: Speedlight Flash — add light anywhere. (affiliate link)
Advanced Manual Focus, Infinity And Avoiding Overshoot
Magnified Live View
The most reliable night method is manual focus with magnified live view. Turn on live view or the electronic viewfinder, raise the display brightness if the camera allows it, and zoom in to 5 times or 10 times on a bright point such as a distant lamp or star. Turn the focus ring slowly until the point is as small and sharp as possible, then back off a hair and return. Watch the light shrink, reach a smallest size, then grow again. The smallest point is the focus. The lesson on live view zoom focus covers the method in detail.
Why You Should Not Rely On The Infinity Mark
Many lenses can turn slightly past true infinity, which lets them stay in focus when the metal barrel expands or shrinks with temperature. That means the infinity mark on the barrel is only a rough guide. Photographers who simply twist the ring all the way to the end often get soft stars. Instead, focus on a real distant light, then verify with a test shot. Autofocus lenses with focus-by-wire rings often have no hard stop at all.
Using Hyperfocal Distance At Night
When the foreground and the sky must both be acceptable, do not focus on infinity. Set the focus near the hyperfocal distance, which gives the largest depth of field with the far scene still sharp. The hyperfocal distance lesson explains the numbers. At f/2.8 on a wide lens, the sky is still sharp at a moderate distance, but a foreground close to the camera will blur, so plan the composition first.
Preventing Overshoot And Focus Drift
- Approach focus from one direction every time, because gears and the ring have small play.
- Once focus is set, wrap a small piece of tape over the focus ring edge and the barrel so it cannot turn. Use low-tack tape and remove it later.
- Recheck focus after a big temperature change. Lenses shift slightly as the night gets colder.
- Disable any focus limiter or autofocus-on settings that reactivate focusing at shutter press.
- Turn off lens stabilization on a tripod unless the manual says otherwise.
Back-Button Focus And Single Point Autofocus
If you prefer to stay in autofocus, assign focus to a rear button so the shutter button does not refocus after every press. Use a single small focus point on a high-contrast edge, and avoid wide-area or tracking modes in low light. Modern mirrorless cameras with good low-light autofocus can lock on in very dim scenes, but it is faster to help them with a light. See back-button focus for setup.
Checking The Result
After every focus change, take a test shot at a high ISO and shorter exposure, play it back and zoom into 100 percent on the brightest points. A star should be a tight dot, a lamp a clean disc or point, and fine edges on buildings should be crisp. If you see soft or doubled points, shift the focus slightly and test again. Once it looks right, lower the ISO and use the real exposure.
Try It
- On a dark evening, set your lens to autofocus, shine a flashlight on a nearby tree and focus on it, then switch to manual and take a test shot.
- Find a distant street lamp, zoom into it with live view at 10 times and focus until the light is its smallest point.
- Take a shot with the focus ring at the infinity mark and another at the point you found by live view, and compare them at 100 percent.
- Try a night portrait of a friend lit by a phone flashlight held to the side, and focus on the nearest eye.
Common Questions
Does a flashlight help autofocus in the dark?
Yes. It gives the camera a bright, contrasty target at the right distance, so it locks on instead of hunting. Switch to manual focus afterward so the setting stays fixed.
How do I focus on stars?
Use manual focus with magnified live view on a bright star or planet. Turn the ring until the point is as small as possible, then check a test image at 100 percent.
Is infinity on the lens barrel accurate?
Not reliably. Many lenses move past true infinity, and temperature shifts the position. Always confirm with a real distant light and a test shot.
Does red light work for focusing?
It protects your night vision but gives less contrast to autofocus. White light works better for the camera, so use red only for setting up and checking gear.
Related Lessons
- Live View Zoom Focus for the full method of magnified manual focus.
- Hyperfocal Distance to set focus for deep scenes at night.
- Back-Button Focus for keeping focus fixed once it is set.
- Milky Way Photography for the full night sky workflow.
- Night Street Photography for focusing and exposing in city lights.
Gear That Helps With This
Hand-picked kit that makes this lesson easier to put into practice.
Some links are affiliate links: if you buy through them we may earn a small commission at no extra cost to you. How this works.