
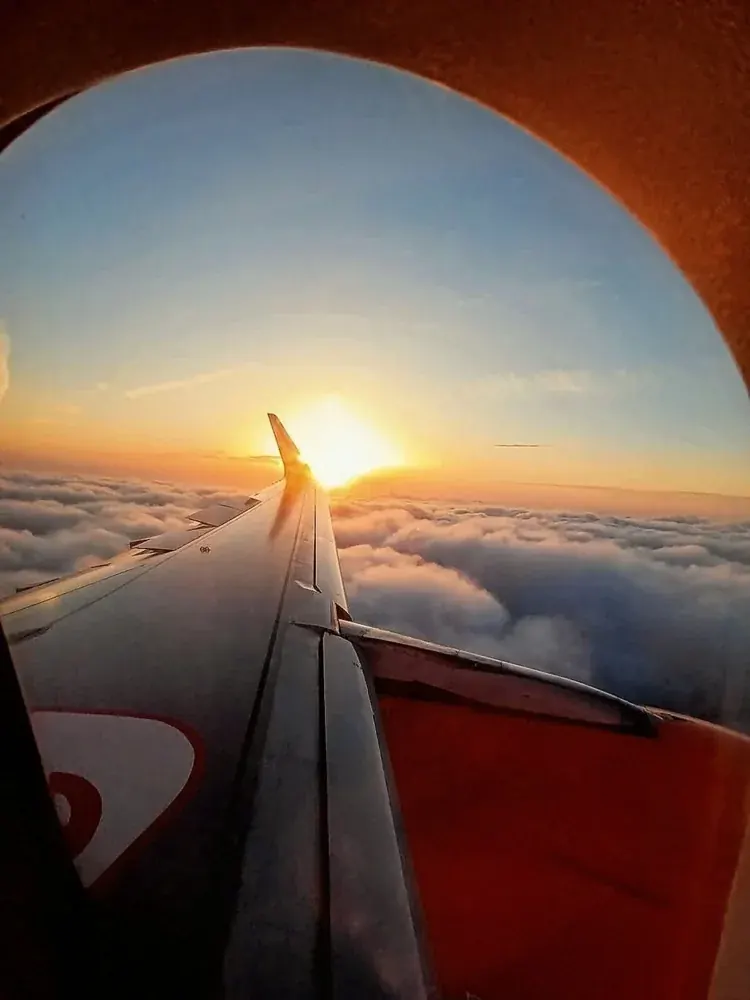
Airplane window photography works best when you sit ahead of the wing, block cabin reflections with a dark cloth or your jacket, hold the lens close to the window without pressing on it, and use a fast shutter speed of 1/500 second or more. Shoot in raw and expose for the bright clouds.
Why It Matters
A plane window gives you a view few people ever photograph well. Most airplane pictures disappoint because of reflections from the cabin, scratches in the plastic, vibration and a hazy sky, not because of the camera. Each of those problems has a simple fix.
Learning these habits turns a window seat into a reliable place to make clear aerial images of clouds, coastlines, mountains and sunsets, with a phone or a full camera. Most of the skill is in choosing the seat and controlling stray light before you press the shutter.
Beginner Getting A Clear Shot Through The Window
Plan your photos before you board. The seat you pick and how you prepare the window matter more than any camera setting.
Choose The Right Seat
- Pick a window seat ahead of the wing so the wing and engine do not fill the frame. Seats behind the wing put engine exhaust and its heat shimmer in front of your lens.
- Check which side of the aircraft the sun will be on. The shaded side has less glare on the glass, and the sunny side gives stronger light and shadows on clouds and land.
- Avoid seats directly over the wing if you want ground views, and avoid the last rows where the window may be small or have a tight curve.
Cut Reflections
Reflections are the biggest problem. Cabin lights, bright clothes and the seat back all bounce off the inner pane. Wear dark clothing, then hold a dark jacket, scarf or a black cloth around the lens so that it blocks light from the cabin. A soft rubber lens hood works well because it folds against the window and creates a shield. Hold the lens a few millimeters from the plastic or rest the rubber lightly against it. Do not press hard, because the window and fuselage vibrate and the shake will go straight into your lens.
Basic Settings
| Setting | Starting Point | Reason |
|---|---|---|
| Shutter speed | 1/500 second or faster | Freezes vibration and handheld shake |
| Aperture | f/5.6 to f/8 | Keeps distant scenes sharp with a sharp lens |
| ISO | Auto, with a limit near 1600 to 3200 | Keeps shutter speed fast in changing light |
| Focus | Single point, set on distant clouds or land | Prevents focus hunting on scratches or glass |
| Flash | Off | Flash bounces straight back off the window |
| File type | Raw if available | Allows haze and highlight recovery later |
Simple Habits That Help
- Clean the inside of the window only if you can reach it without leaving smears. Never try to clean the outside.
- Put your phone or camera in airplane mode or follow the crew rules for devices during takeoff and landing.
- Take several frames of each scene, because turbulence and window flex make some frames softer than others.
- Shoot during the first and last parts of the flight, when low sun adds long shadows and color to the clouds.
Common Mistakes
- Using a bright lens hood or white sleeve that reflects in the glass.
- Shooting with the lens far from the window, which captures every reflection in the cabin.
- Leaning on the window with the camera body, which transfers vibration.
- Leaving the camera in full auto exposure so that bright clouds turn gray and dull.
Handy for this: ND And Polarizing Filters — control light and glare. (affiliate link)
Advanced Scratches, Haze, Polarizers And Cloud Exposure
How Airplane Windows Are Built
A typical passenger window has three layers: an outer pane that carries cabin pressure, a middle pane that acts as a backup, and a thin inner pane that protects the others from passengers. The middle pane has a tiny breather hole that can fog or frost in some conditions. Most scratches are on the inner pane and the outer pane is exposed to ice, sun and dirt. Because these plastic layers are thick, you often see haze, glare and slight distortion across the whole frame.
Minimizing Scratches
Scratches show up when they are in focus or catch light. Place the lens as close as possible to the surface and use a wide aperture such as f/2.8 to f/4 when the scene allows it, since the scratches then fall far outside the depth of field and blur away. Choose a camera angle that puts the sun behind you, because scratches light up when they face the sun. A longer lens at a slight angle can also help you shoot through the cleanest part of the window. If your lens has a hood, rotate it so the shield sits flat on the glass and the front element sits slightly away.
Polarizer Behavior On Plastic
A polarizing filter removes some reflections, but airplane windows are made of stretched acrylic that can create rainbow patterns when seen through a polarizer. This effect is caused by stress in the plastic. Rotate the filter slowly while watching the screen. The sky may show colored bands that are interesting in some shots and distracting in others. Because the outer layers are curved and tinted, the result varies by airline and aircraft, so test it at the start of the flight, and remove the filter if bands appear. The lesson on reflectors and diffusers explains related ideas on how light bounces from surfaces.
Exposure For Clouds And Haze
At cruising height the sky is darker and the air below holds haze, so distant ground looks flat and blue. Expose for the brightest clouds, using exposure compensation of minus 1/3 to minus 2/3 stop, and check the highlight warnings. See exposure compensation guide and highlight warnings and blinkies for how to read them. In editing, raise contrast and clarity or use a dehaze slider, then bring back some color in the blue channel. Haze reduction works best from a raw file. Black and white conversions can also look strong, because they hide color casts from the tinted window.
Lenses And Stabilization
A zoom in the 24 to 105mm range is a good fit, since you can frame wings, clouds and the horizon without changing lenses in a small seat. Very long lenses magnify vibration and window distortion. If your camera or lens offers optical stabilization, leave it on at shutter speeds slower than 1/500 second. Keep the camera strap around your neck so it will not drop. For more on the shake control see image stabilization.
Planning The Trip
Seat maps, flight paths and sunrise or sunset timing can tell you what you will see. Many flights follow the same routes along coastlines, deserts and mountain ranges, and apps can show your path and sun position. Pair this with the tips in travel photography for a trip kit that stays light enough for cabin baggage.
Try It
- Book a window seat ahead of the wing and check which side of the plane will have the sun.
- Pack a dark cloth or a soft rubber lens hood in your carry-on bag.
- Set 1/500 second, f/5.6 and auto ISO, then shoot the same scene with the lens touching versus slightly away from the window.
- Review your pictures at full size and note which frames show reflections, scratches or vibration.
Common Questions
What is the best seat for airplane window photography?
A window seat ahead of the wing is usually best because the wing and engine stay out of the frame. Choose the shaded side for fewer reflections or the sunny side for stronger light on clouds.
How do I stop reflections in plane window photos?
Wear dark clothes, hold a dark jacket or rubber hood around the lens and keep the lens very close to the window. This blocks light from the cabin that bounces off the inner pane.
What shutter speed should I use through a plane window?
Start at 1/500 second or faster. Plane vibration and handheld shake can blur slower shots, and fast shutter speeds are easy to reach in bright high-altitude light.
Can I use a polarizing filter on an airplane window?
You can, but the stretched acrylic can create colored bands when viewed through a polarizer. Rotate it slowly, check the screen and remove it if the pattern looks distracting.
Related Lessons
- Travel Photography for planning shots and kit on any trip.
- Window Light Photography to see how light behaves when it comes through glass.
- Exposure Compensation Guide for keeping bright clouds from turning gray.
- Lens Hood for how a hood blocks stray light and flare.
- Shutter Speed Guide to choose speeds that freeze vibration.
Gear That Helps With This
Hand-picked kit that makes this lesson easier to put into practice.
Some links are affiliate links: if you buy through them we may earn a small commission at no extra cost to you. How this works.