
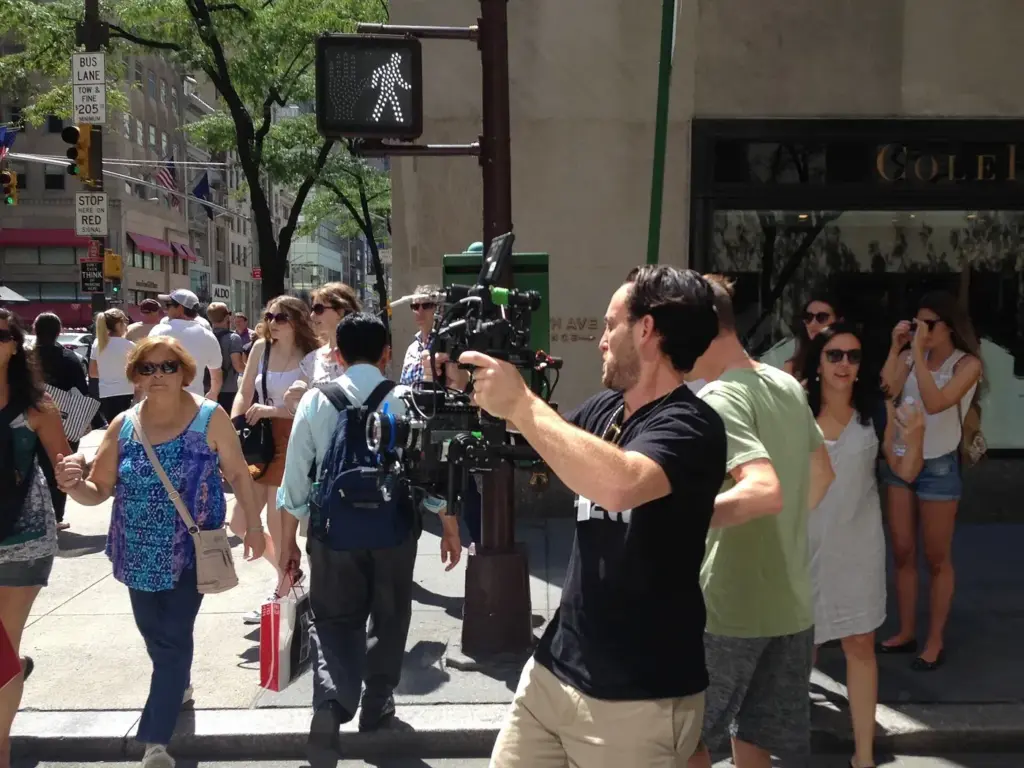
Stabilizing without a tripod means reducing camera movement by bracing your body or the camera against something solid and using a fast enough shutter speed. Lean on a wall, rest the camera on a bag, use the self-timer and take several frames. These habits can turn blurry handheld shots into sharp ones.
Why It Matters
Tripods are bulky, banned in many places and rarely in your hand when a good shot appears. Most photos are taken handheld, so knowing how to hold a camera steadily is more useful than any gadget. Small gains in steadiness often allow a shutter speed three or four times slower, which means lower ISO and cleaner pictures.
Blur from camera shake looks like a streak across the whole image, not just the subject. If everything is soft in the same direction, your hands moved. The tips below help you tell shake apart from missed focus and fix it. For a general troubleshooting list, see fix blurry shots quick.
Beginner Bracing, Breathing And The Self-Timer
Hold The Camera Properly
- Hold the grip with your right hand and cradle the lens from below with your left palm, not from the side.
- Tuck both elbows against your chest or ribs to create a triangle of support.
- Stand with your feet shoulder width apart and one foot slightly forward.
- Press the camera gently against your face if you use a viewfinder, which adds a third point of contact.
Brace On Something Solid
Anything stable beats open air. Lean your shoulder against a wall, a pole or a tree. Rest your elbows on a table, a car roof or a railing. Set the camera itself on a backpack, a folded jacket or a flat wall top, and tilt the lens by folding the cloth under the front or back. A low wall with a jacket under the camera acts as a short tripod, and you can aim by sliding the camera slightly.
Breathe And Squeeze
Take a breath, let half of it out and hold still for the moment of exposure. Press the shutter button slowly with the pad of your finger, like a squeeze, instead of jabbing it. Jabbing pushes the camera down at the moment of the picture.
Use The Self-Timer
If the camera is resting on a bag or a wall, set the two-second timer so that your finger is off the camera when the shutter fires. This removes the bump from pressing the button. The setting is described in camera self-timer. A phone app or remote does the same job.
Quick Shutter Speed Guide
| Lens (Full Frame) | Minimum Handheld Speed | With Good Bracing |
|---|---|---|
| 24mm | 1/30 second | 1/8 second |
| 50mm | 1/60 second | 1/15 second |
| 100mm | 1/125 second | 1/30 second |
| 200mm | 1/250 second | 1/60 second |
Common Mistakes
- Standing with legs together and arms stretched out, which makes the body sway.
- Using the rear screen at arm’s length, which is much less stable than the viewfinder.
- Holding the lens by the side instead of cradling it from below.
- Leaving the camera on a slow shutter speed after moving from a dim room to a bright one.
Handy for this: Carbon Fiber Tripod — sharp at slow shutter speeds. (affiliate link)
Advanced Shutter Speed Math, Straps, Bean Bags And Bursts
The Reciprocal Rule
The traditional guide says to use a shutter speed of at least one over the focal length, so 1/50 second for a 50mm lens on full frame. On an APS-C camera, multiply the focal length by 1.5 first, so a 50mm lens needs about 1/75 second. High-resolution sensors reveal blur more easily, so many photographers double the speed for 45 megapixel cameras. The rule is a starting point, and your own steadiness changes it. Our guide to focal length shows how the field of view magnifies shake.
Image Stabilization Helps
Lens or in-body stabilization typically gains three to five stops in real use, even when the maker claims more. That means a 50mm lens can often be handheld at 1/8 second instead of 1/60 second, if the subject is still. It does not stop subject motion. Turn it off when using a tripod only if your camera manual says so. For details, read image stabilization.
Strap Tension
Wrap the neck strap around your wrist or hand, then push the camera forward until the strap is tight against your neck. The tension acts as a counterforce, so the camera has less room to wobble. It works best at wide and normal focal lengths, and it also helps with video.
Make A Bean Bag
Fill a small cloth pouch or an old sock with rice, dried beans or lentils to about two thirds full, and sew or tie the end. Set it on a wall, a car window frame or the ground, and press the camera into it. The bag molds around the camera base and absorbs small vibrations. Windows of cars and boats should be braced only when the engine is off, since engine vibration passes straight into the camera.
Burst For Sharp Frames
Camera shake varies from frame to frame, so a burst of three to five shots usually includes at least one sharp frame. Set continuous low speed drive mode, hold the button gently and keep still for the whole burst. Check the sharpest frame at 100 percent. See drive modes and burst shooting for settings.
Reduce Shutter Shock
A mirror slap or mechanical shutter can add small vibration at certain speeds, usually between 1/30 and 1/4 second. Try a silent or electronic first-curtain shutter in these cases, and compare frames. When light is dim, raise ISO until the speed is safe, because noise is easier to fix than blur. The reasoning is explained in the shutter speed guide.
Support Points For Different Situations
Match the support to the scene. In a crowd, tuck into a doorway or lean against a pillar, which also keeps you out of the way. At a table, use a folded napkin or a phone as a wedge to tilt the lens up. When you are lying down, rest your elbows on the ground and prop the lens on a hand or a bag. In a car, turn the engine off and rest your forearms on the open window. These small habits cost nothing, and they often matter more than buying faster glass.
Try It
- Photograph a bookshelf at 1/8 second without bracing, then take the same picture with elbows tucked and breath held.
- Rest the camera on a backpack or a wall and use the two-second timer for the same scene.
- Take a burst of five handheld frames at 1/15 second and find the sharpest one at 100 percent.
- Make a rice-filled bean bag and compare it with the backpack on the same wall.
Common Questions
How slow can I shoot handheld?
With a normal lens and good bracing, 1/15 second is realistic for still subjects. With stabilization, 1/4 second or slower is possible. Shoot a burst because the success rate drops quickly at slow speeds.
Does a monopod count as stabilizing without a tripod?
Yes. A monopod removes up and down sway and is faster to use than a tripod, although side to side movement remains. It is useful for telephoto lenses and crowded places.
Is the self-timer or a remote better?
Both avoid touching the camera. The two-second self-timer is always available and needs no gear. A remote or phone app is handy when you want to time the shot exactly.
Should I turn stabilization off when bracing on a wall?
Usually you can leave it on. Some older lenses can drift when stable, so check your manual. If a bracing setup makes shots look worse with stabilization on, try it off.
Related Lessons
- Image Stabilization to learn how lens and sensor stabilizers work.
- Camera Self-Timer for setting delay modes that avoid shutter button shake.
- Shutter Speed Guide to pick speeds for motion and shake.
- Choosing A Tripod for when you do have time to bring one.
- Fix Blurry Shots Quick to diagnose shake, missed focus and subject motion.
Gear That Helps With This
Hand-picked kit that makes this lesson easier to put into practice.
Some links are affiliate links: if you buy through them we may earn a small commission at no extra cost to you. How this works.